|
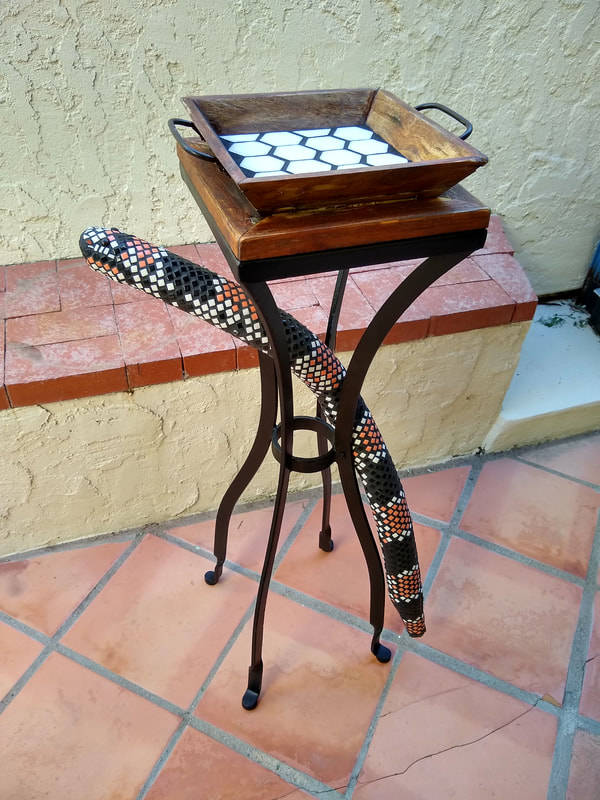
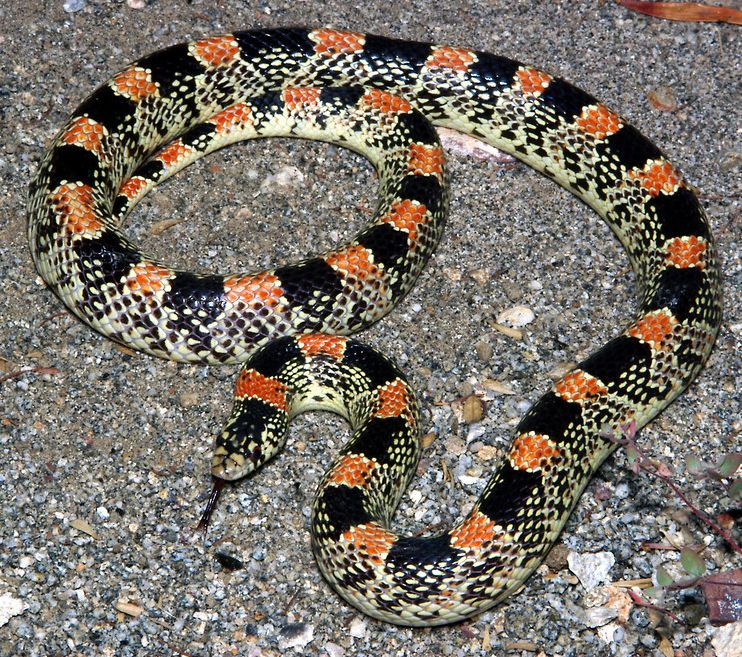
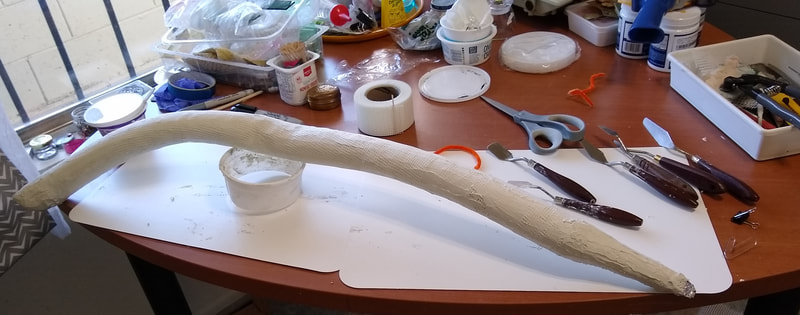
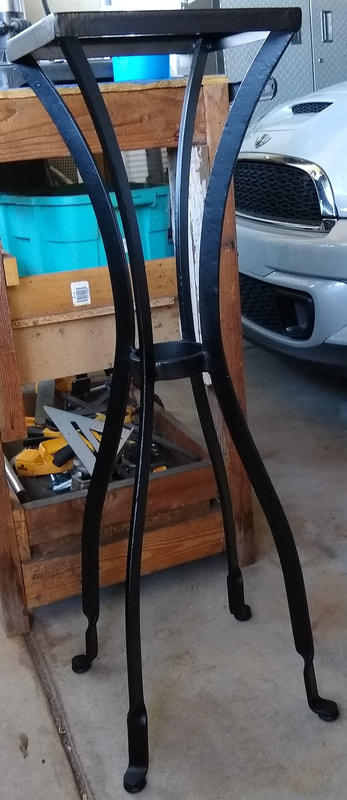
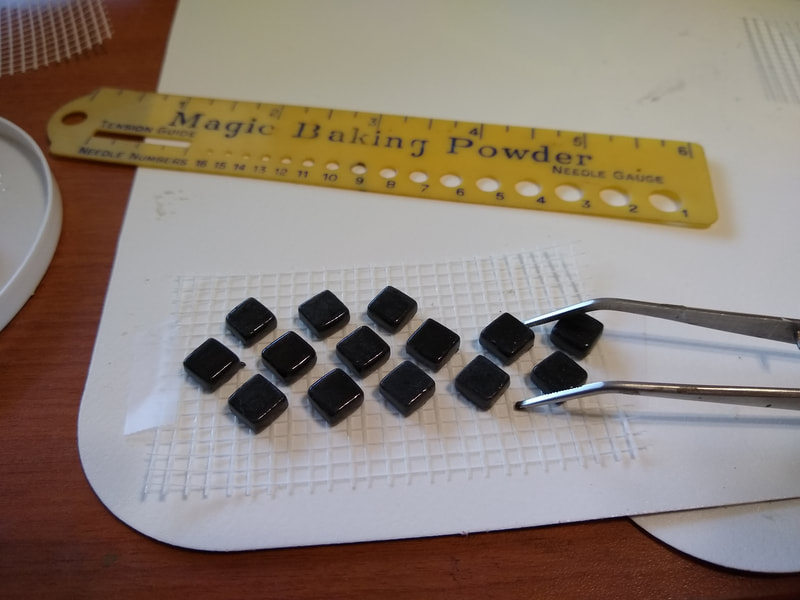
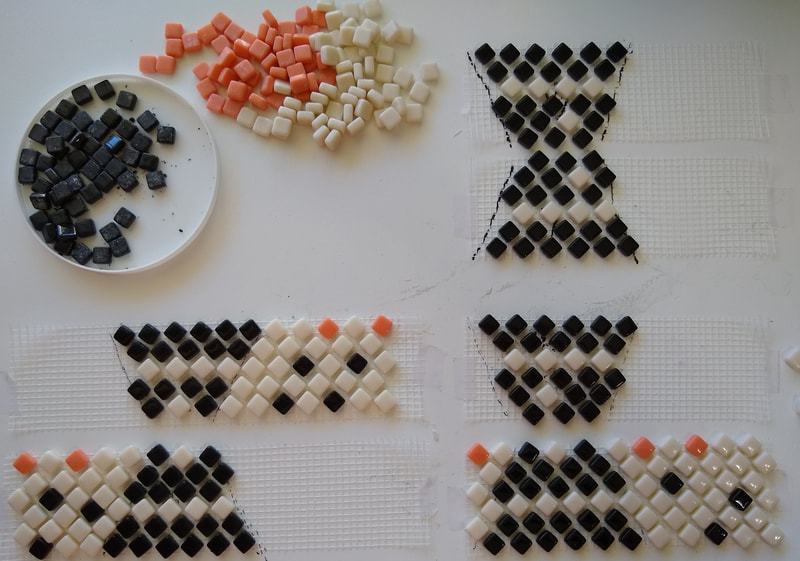
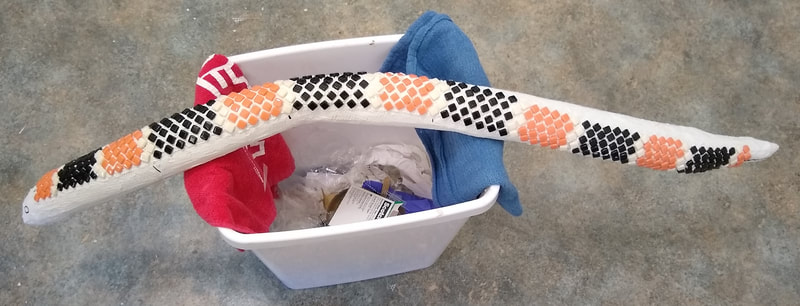
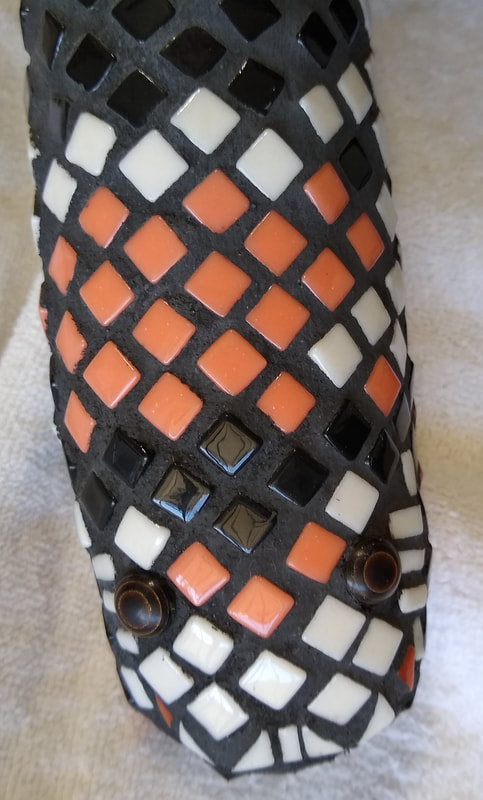
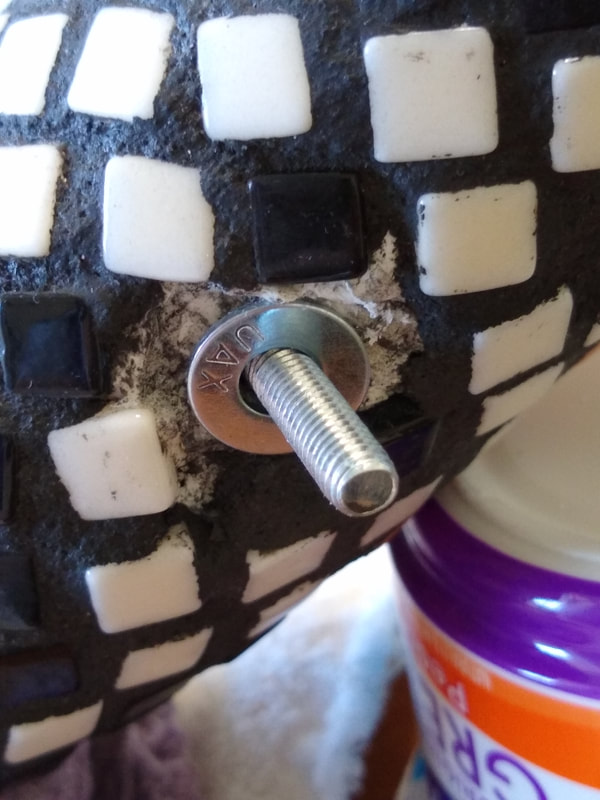
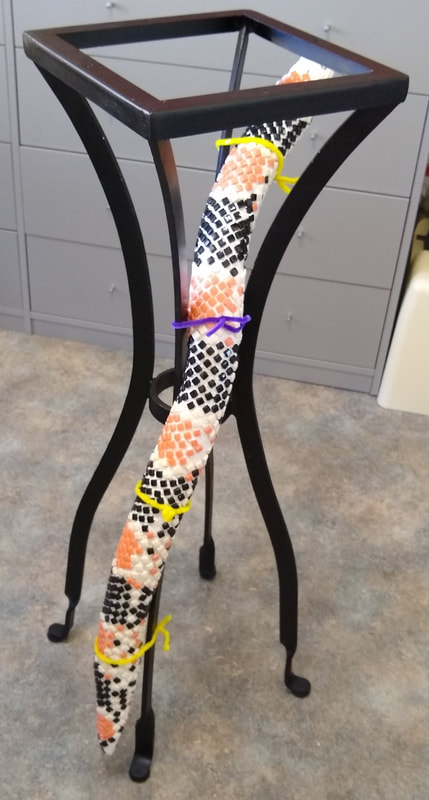
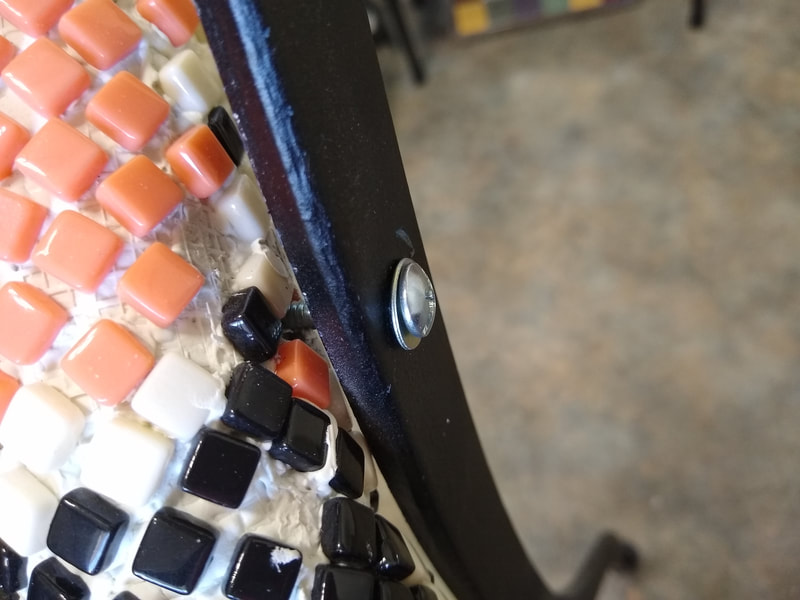
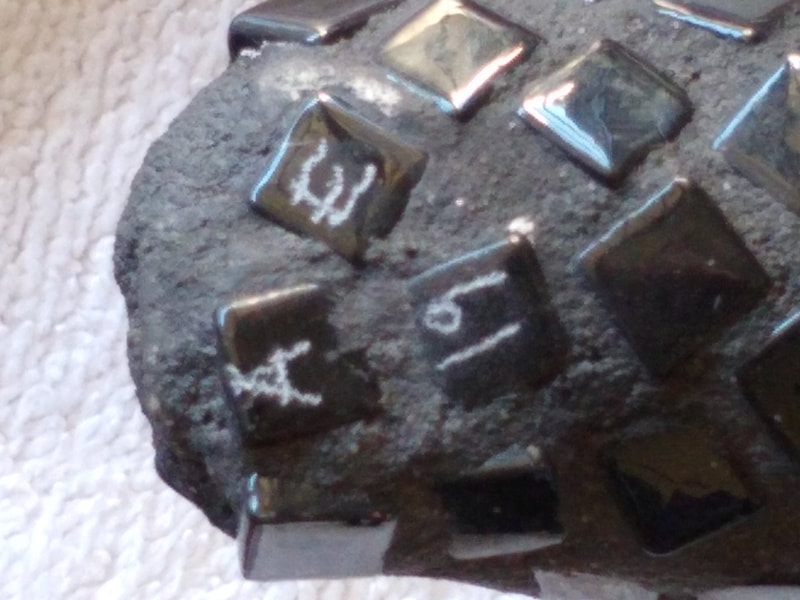
STEPS TO JERRY Just hover over each image and click to see what was being done. I had to build the snake to fit the plant stand and then I created the 'scales' on mesh instead of applying each one directly to the substrate. He liked to roll and curl a lot (dang snake) so it took awhile to finish the scales. JERRY STARTS TO TAKE FORM I applied the mesh 'scales' to the snake substrate (top first; then bottom) and then grouted. Notice what a dramatic difference the grout makes. His eyes are actually buttons. FINAL STEPS Attaching Jerry was the toughest part because I FORGOT to drill bolt holes in him before I tiled and grouted. Sorry Jerry! I had to pop off a few tiles to drill and place bolts. LASTLY
I mosaicked the plant holder, stained the wooden areas with teak oil, and reattached it to the stand. I sealed the grout so everything is ready for the outdoors.
0 Comments
Leave a Reply. |
AuthorI create mosaics by using reclaimed, recycled, and re-purposed materials. Archives
August 2022
Categories |


 RSS Feed