MOSAICS BY ANDREA EDMUNDSON
  • Home
  • Portfolio
  • Resources
  • Blog
  • Contact

Jerry the Snake (plant stand)

11/20/2019

0 Comments

 
Picture
Jerry the Snake (plant stand), finished.
Picture
A long-nosed snake in Arizona, Jerry's role model.

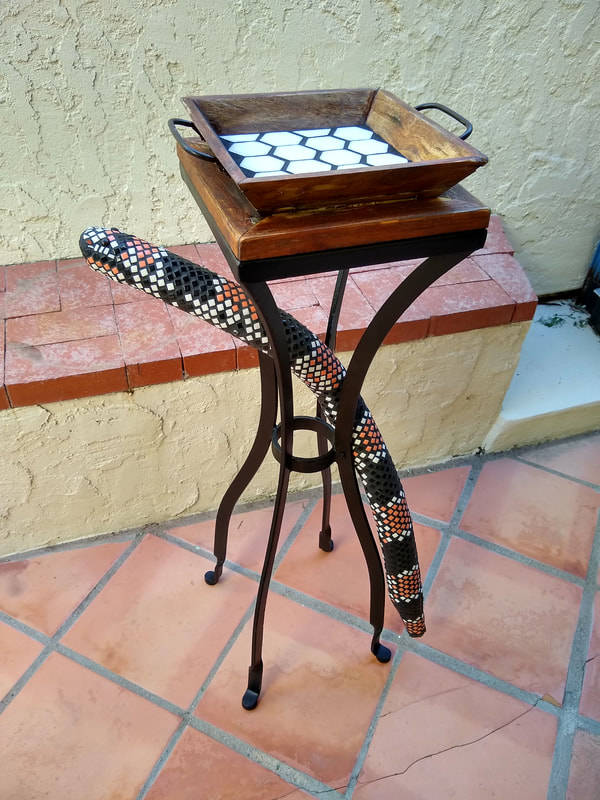
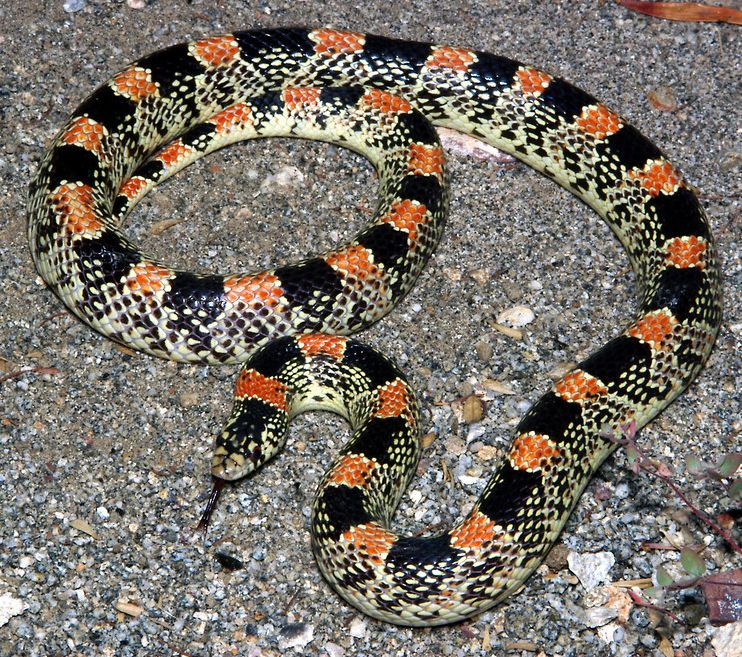
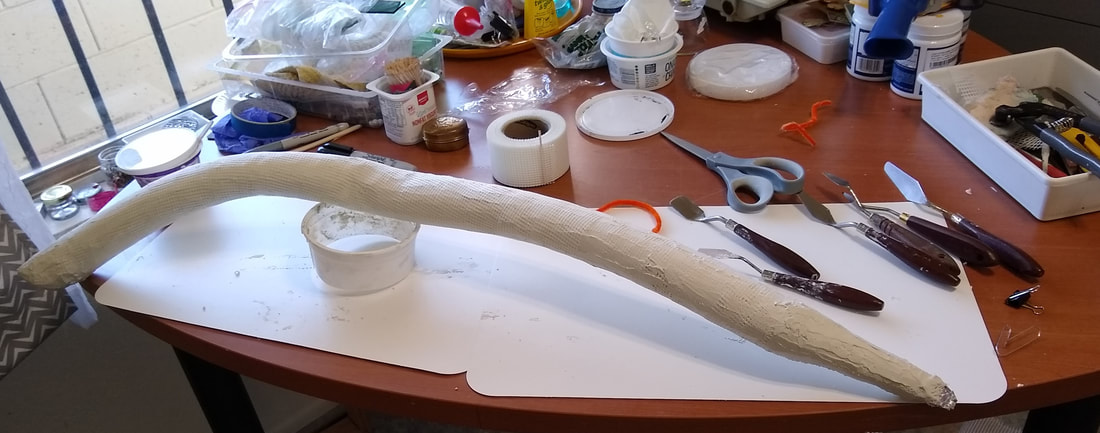
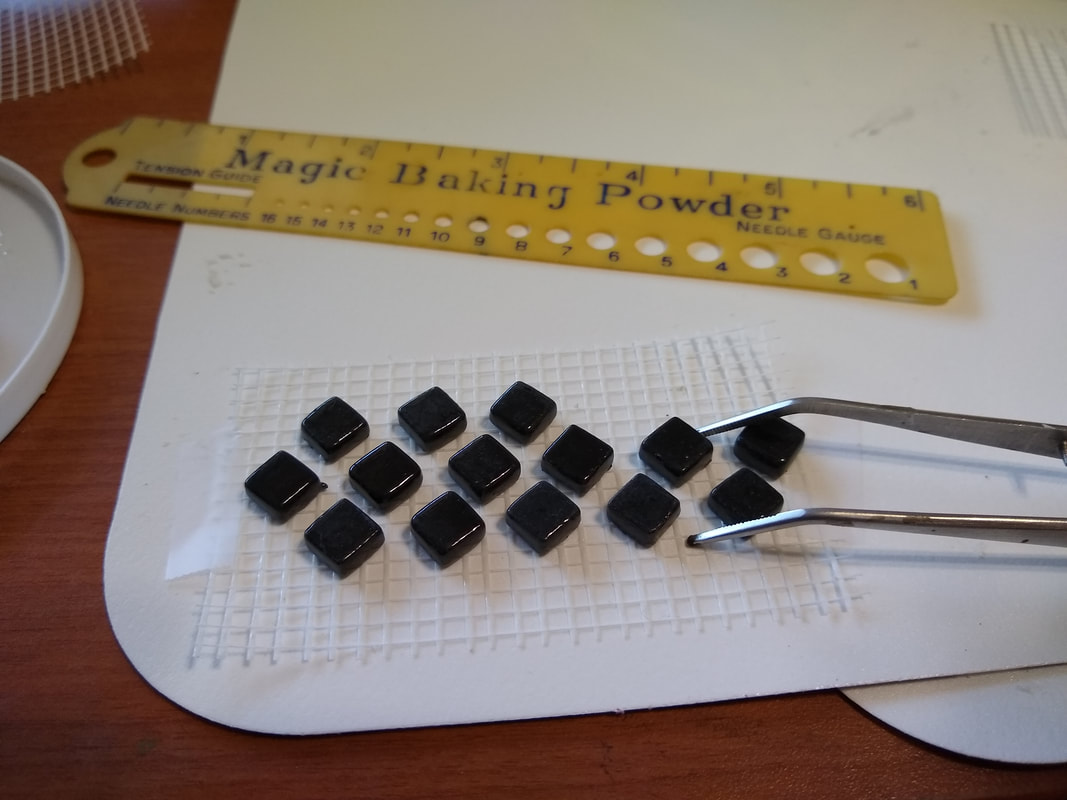
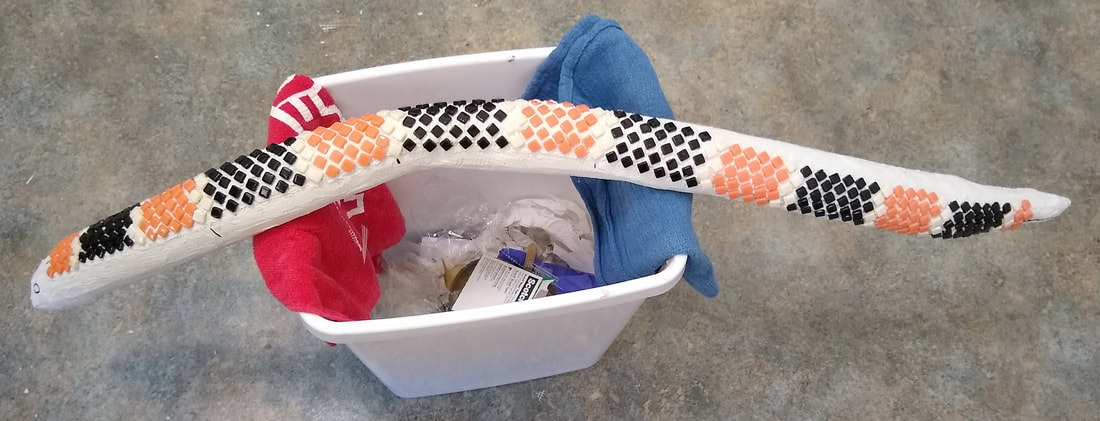
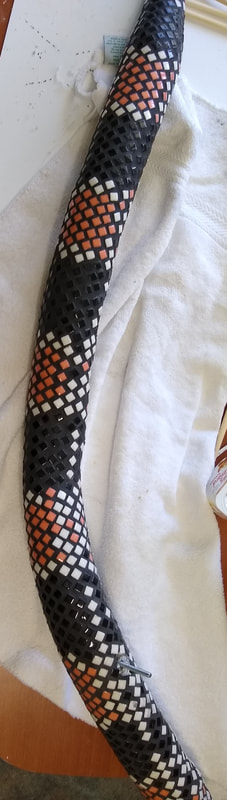
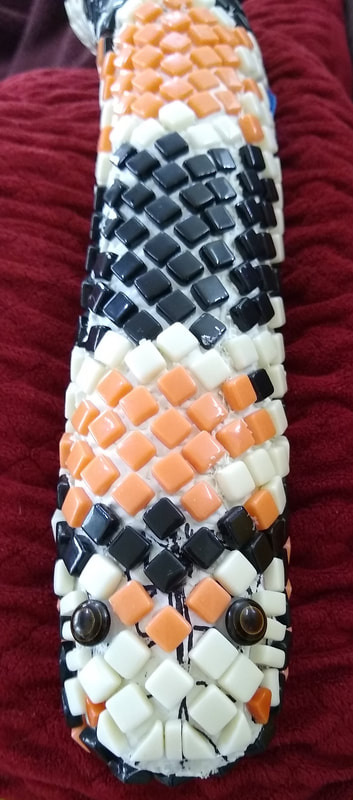
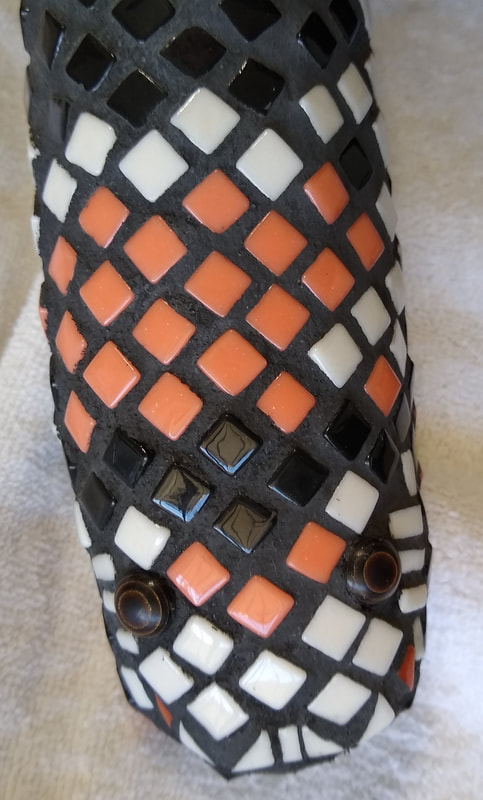
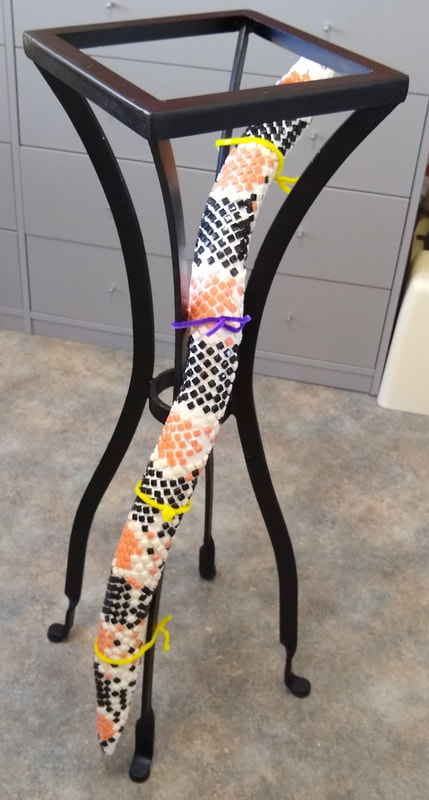
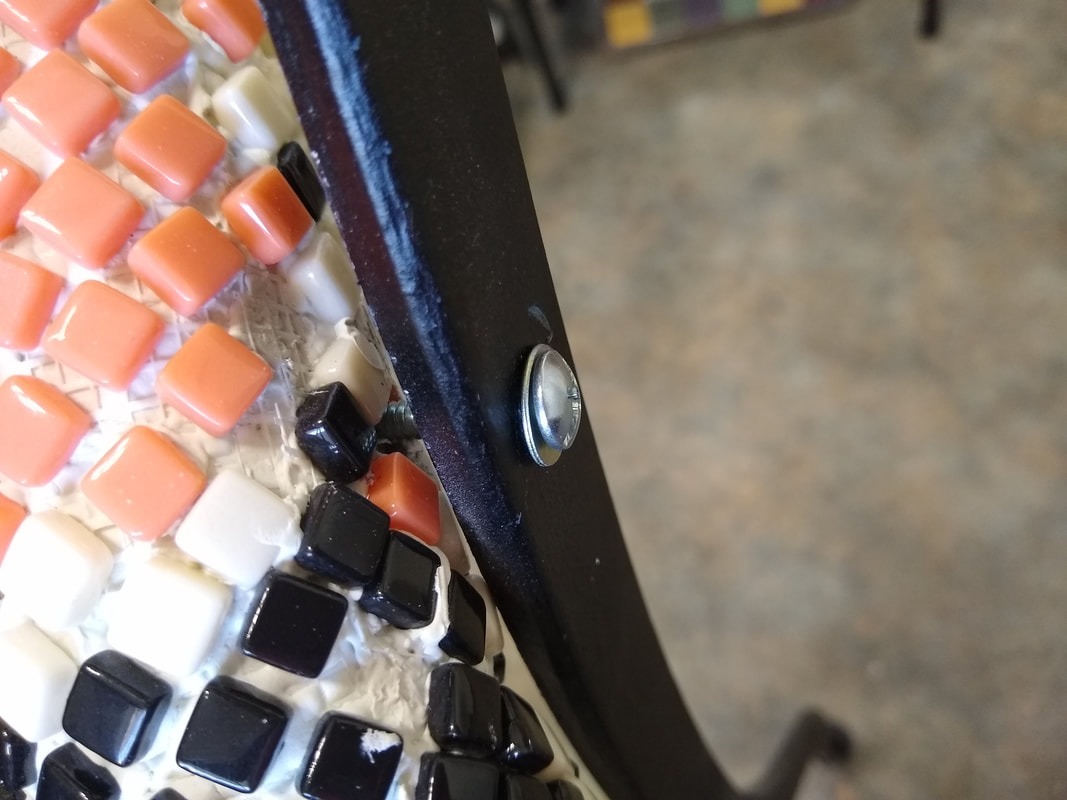
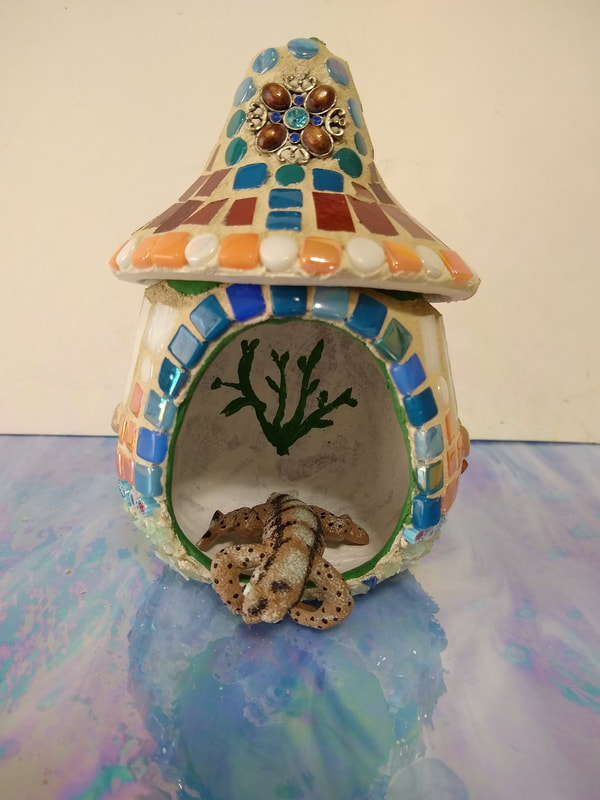
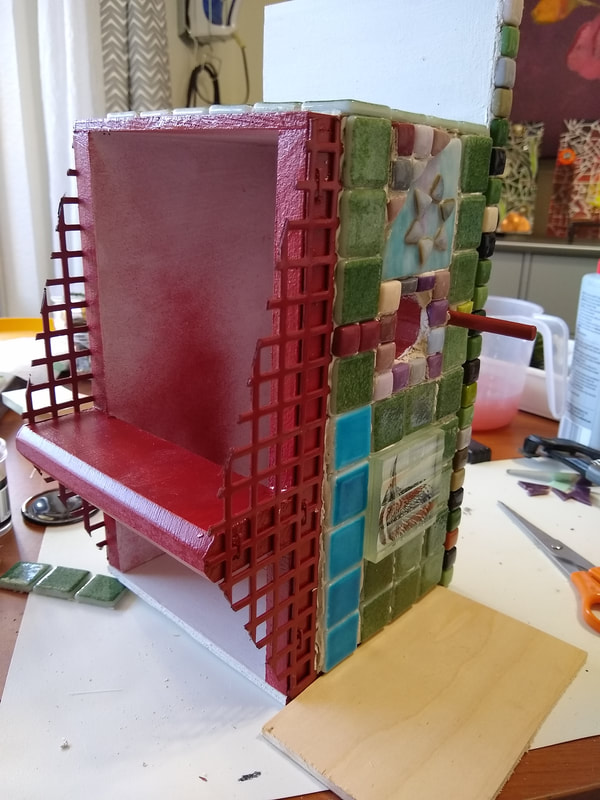
STEPS TO JERRY
Just hover over each image and click to see what was being done. I had to build the snake to fit the plant stand and then I created the 'scales' on mesh instead of applying each one directly to the substrate. He liked to roll and curl a lot (dang snake) so it took awhile to finish the scales.
JERRY STARTS TO TAKE FORM
I applied the mesh 'scales' to the snake substrate (top first; then bottom) and then grouted. Notice what a dramatic difference the grout makes. His eyes are actually buttons.
FINAL STEPS
Attaching Jerry was the toughest part because I FORGOT to drill bolt holes in him before I tiled and grouted. Sorry Jerry! I had to pop off a few tiles to drill and place bolts.
LASTLY
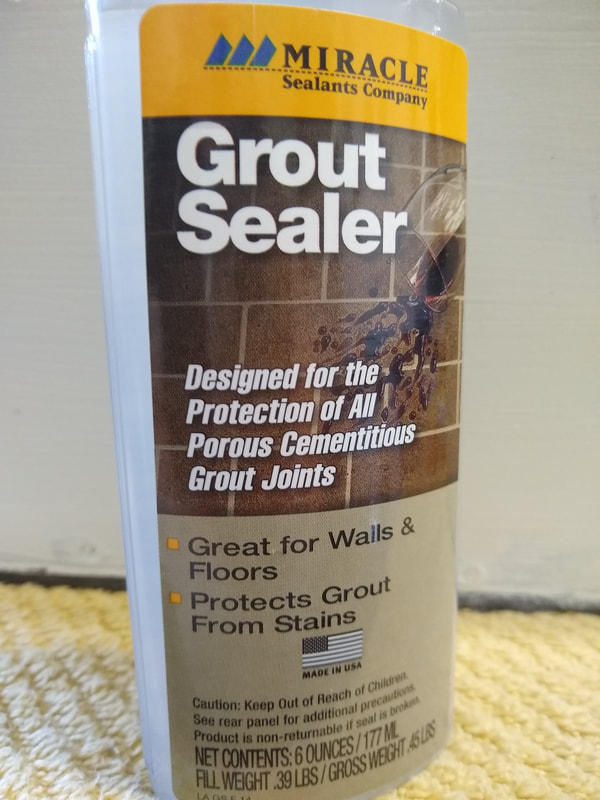
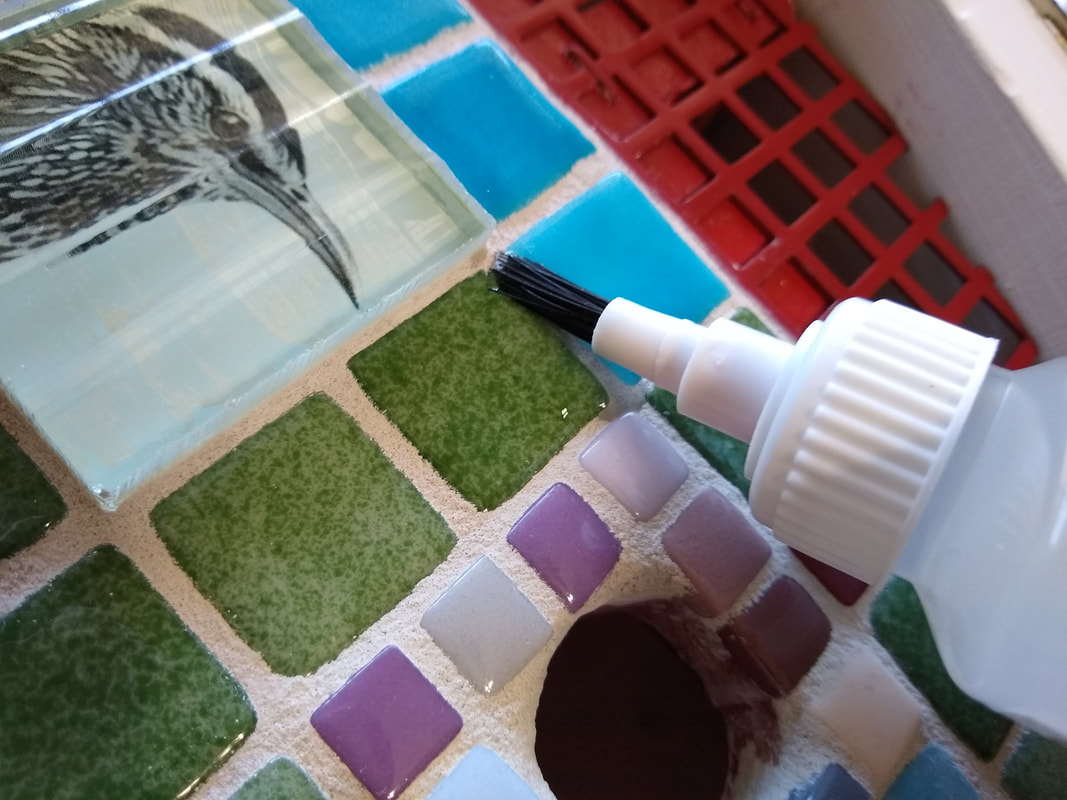
I mosaicked the plant holder, stained the wooden areas with teak oil, and reattached it to the stand. I sealed the grout so everything is ready for the outdoors.
0 Comments

How to Mosaic a Small Gourd

7/24/2019

0 Comments

 
Picture
Primed gourd pieces with KILZ. Did not attach house to roof yet, but drilled holes for hanging.
Picture
Painted bottom. Attached millefiori. Applied thinset.
Picture
Rolled bottom of gourd with thinset in green glass bits.
Picture
Working side ways, slowly, used thinset to apply small tiles.
Picture
Continued adding small tiles and medallion by embedding directly into thinset.
Picture
Checking to see if there are enough pieces!
Picture
Attached medallion in back with thinset as well.
Picture
Attached white glass on sides with thinset, using toothpicks as spacers. Have to wait for each row to dry before moving to next...argh. Grouted the next day.
Picture
Adhered red glass for roof. Protected medallions and small tiles with tape.
Picture
Grouted the roof.
Picture
Side view.
Picture
Front view with plant painted inside.
Picture
Back.
Picture
Lizard moves in.
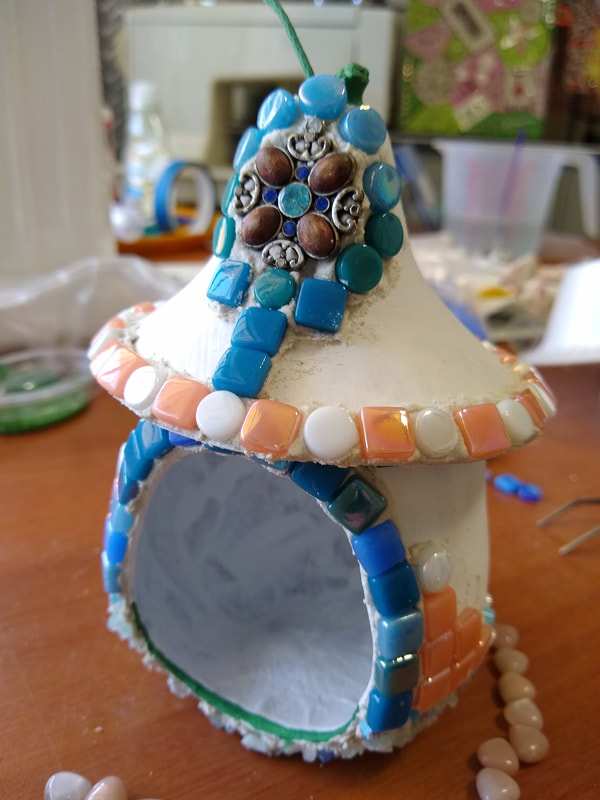
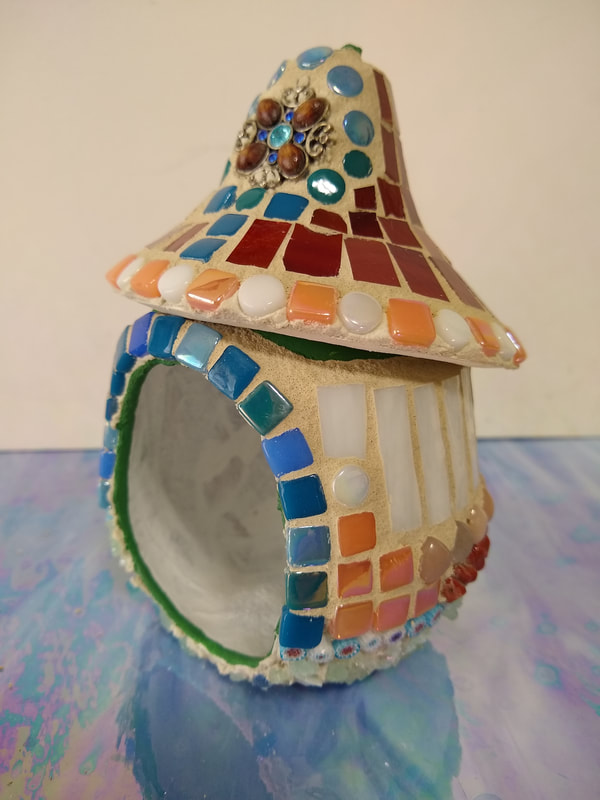
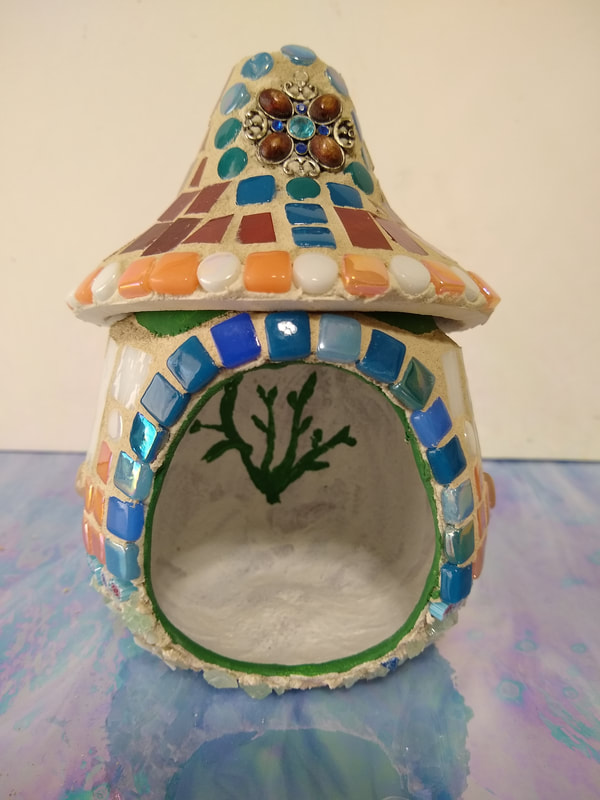
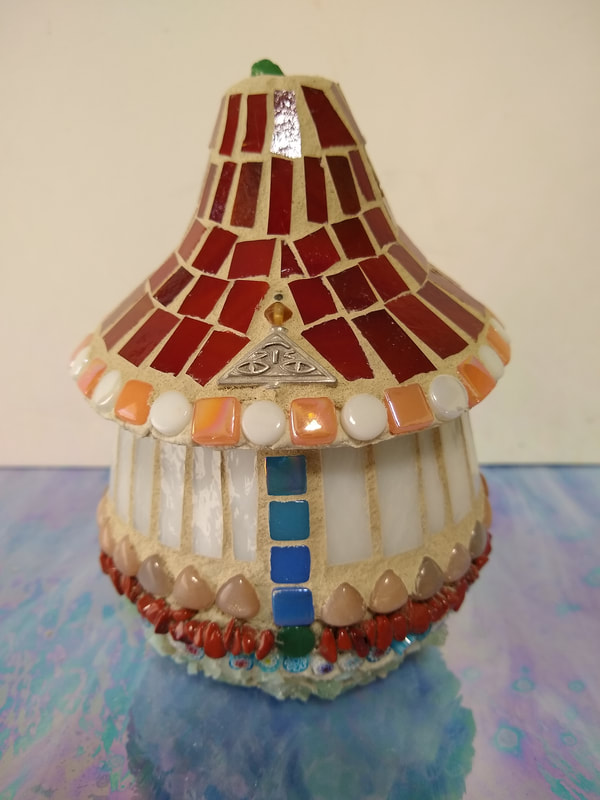
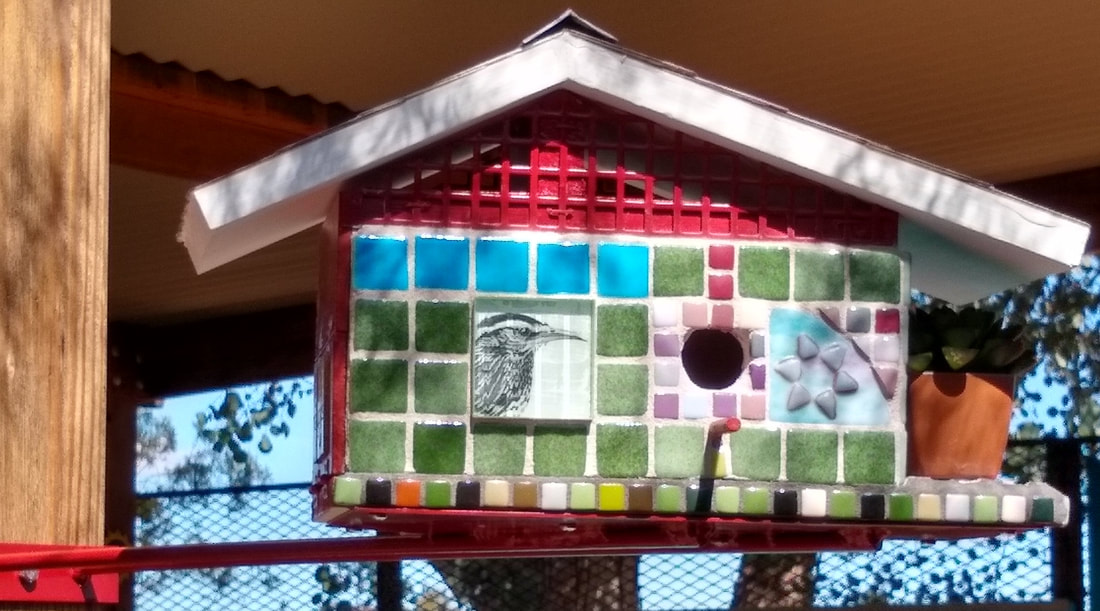
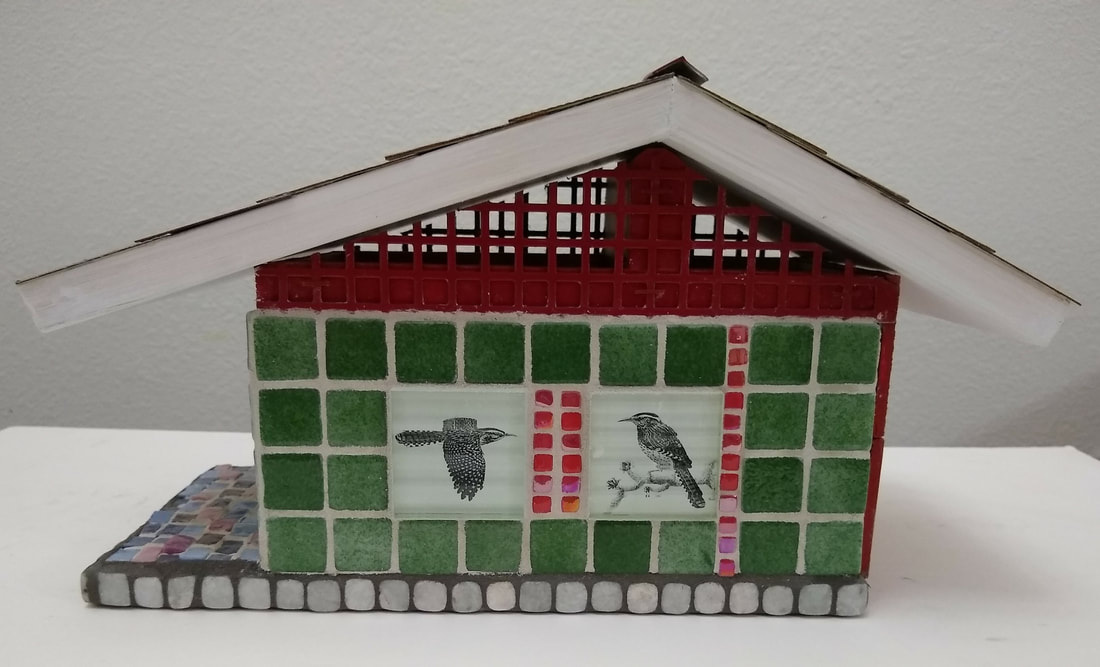
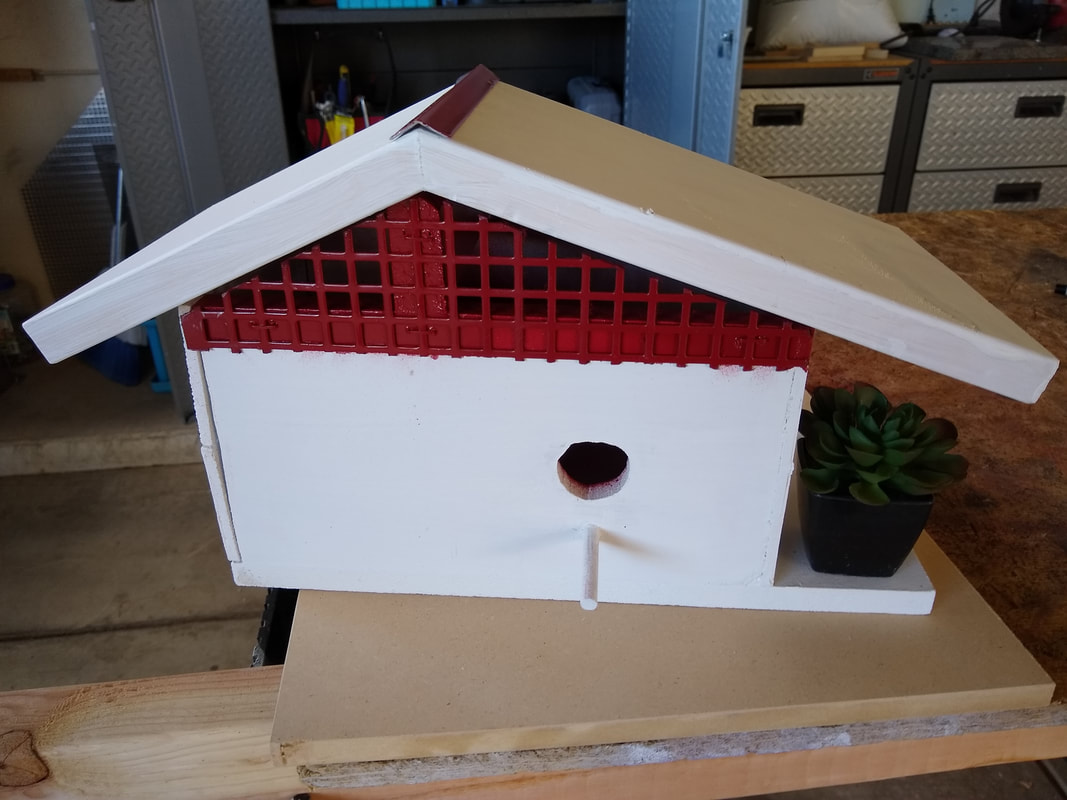
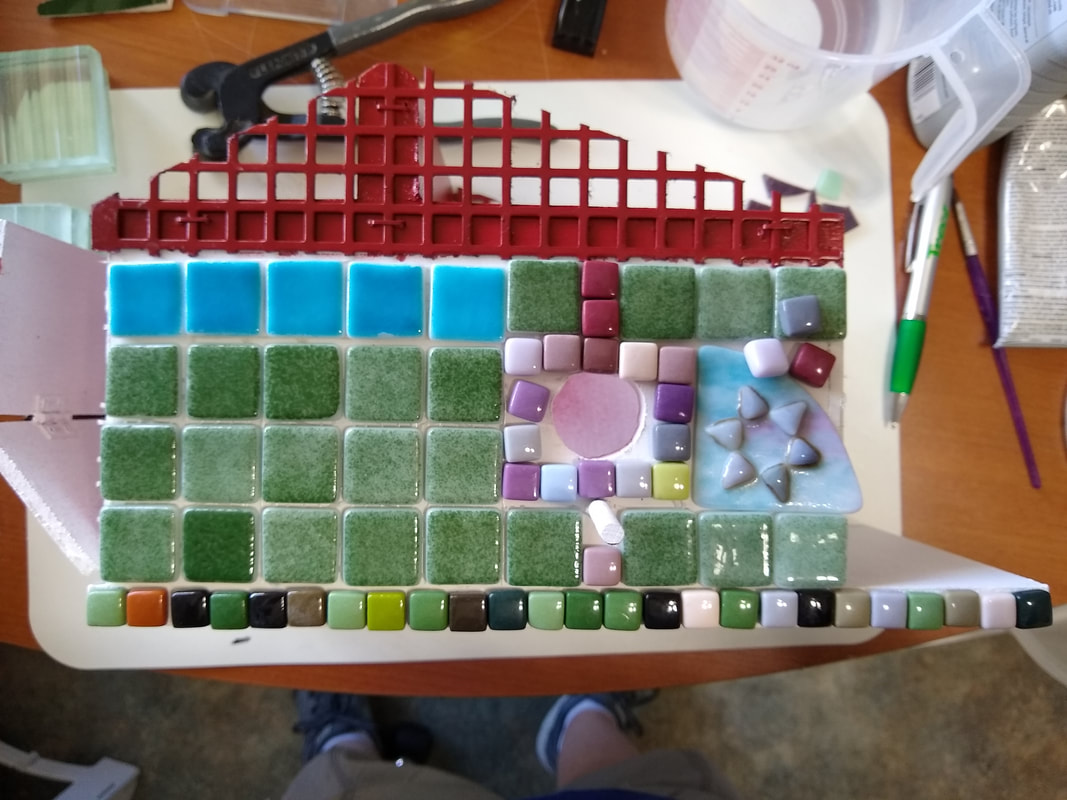
Not shown: Small green leaf loop at top for hanging the gourd. Also, repainted that green area under the roof to beige to match the grout.
0 Comments

How to Safely Break Pottery for Mosaics

7/1/2019

0 Comments

 
0 Comments

A Flowering Future

5/2/2019

2 Comments

 
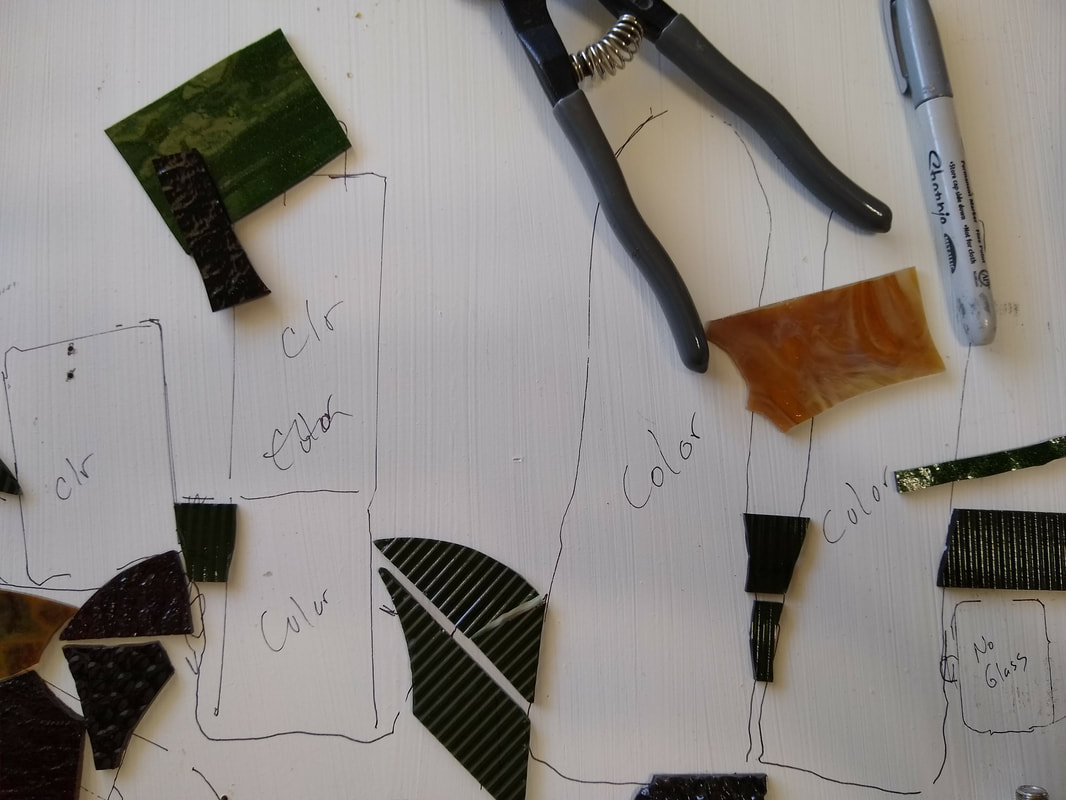
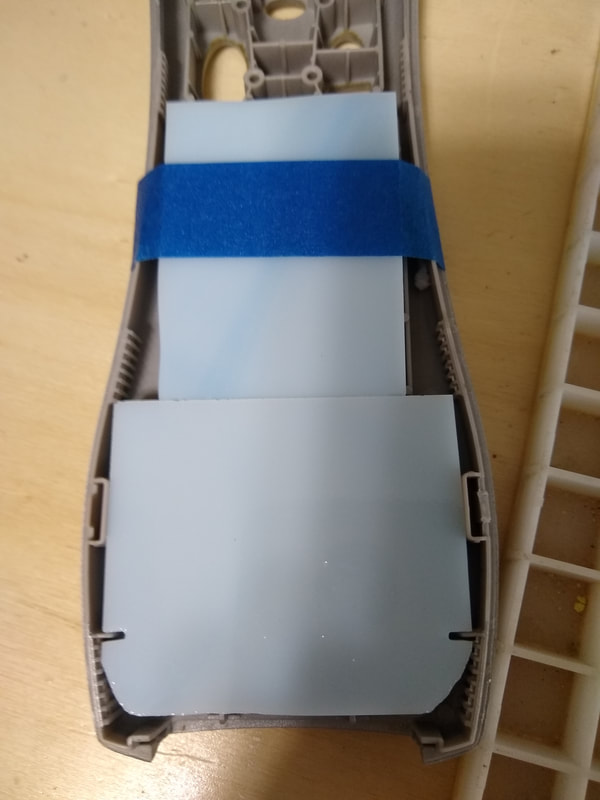
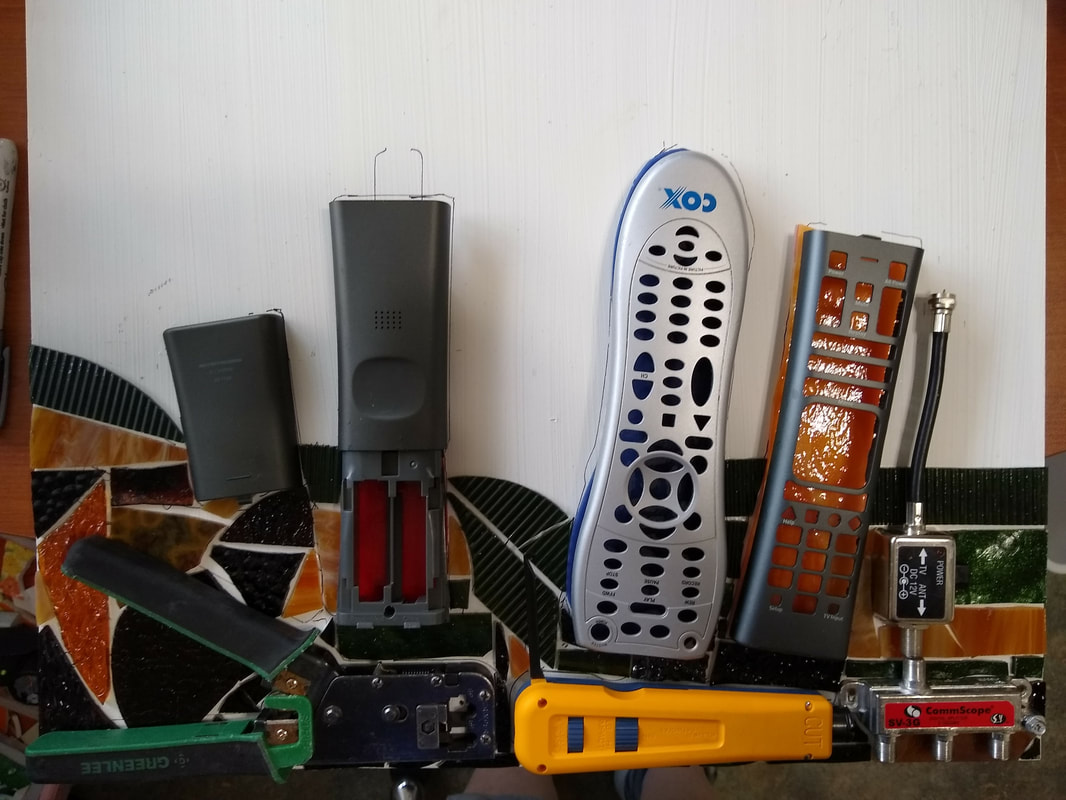
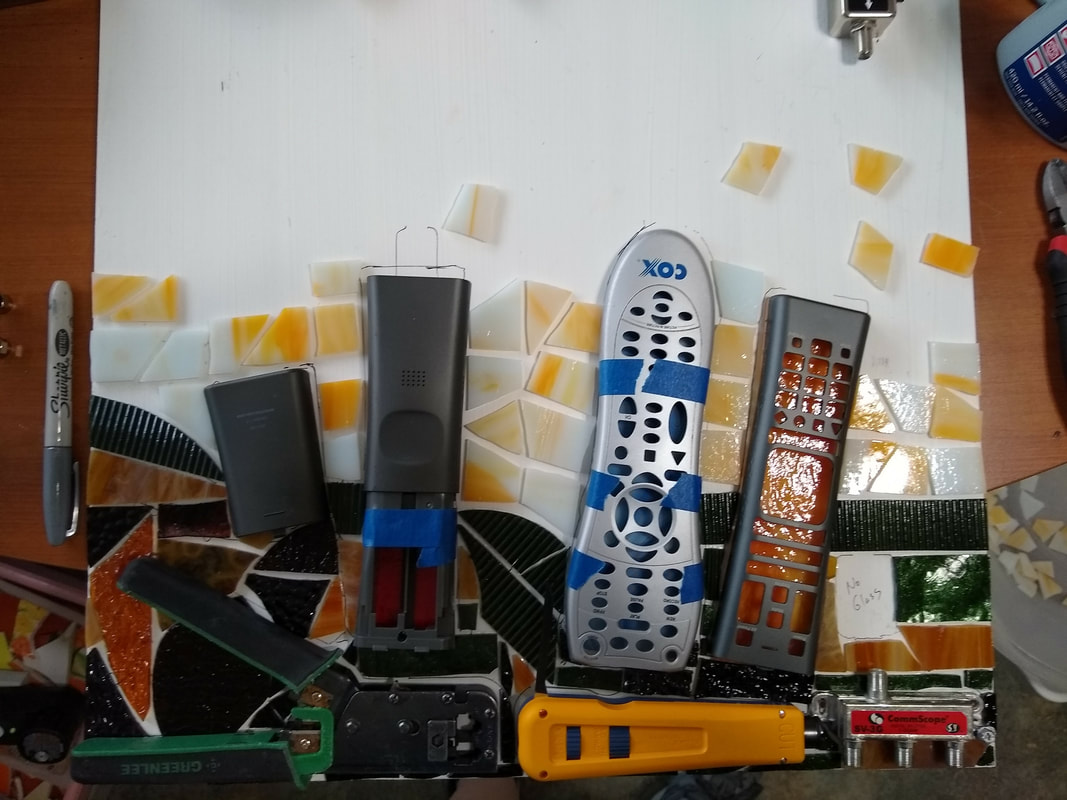
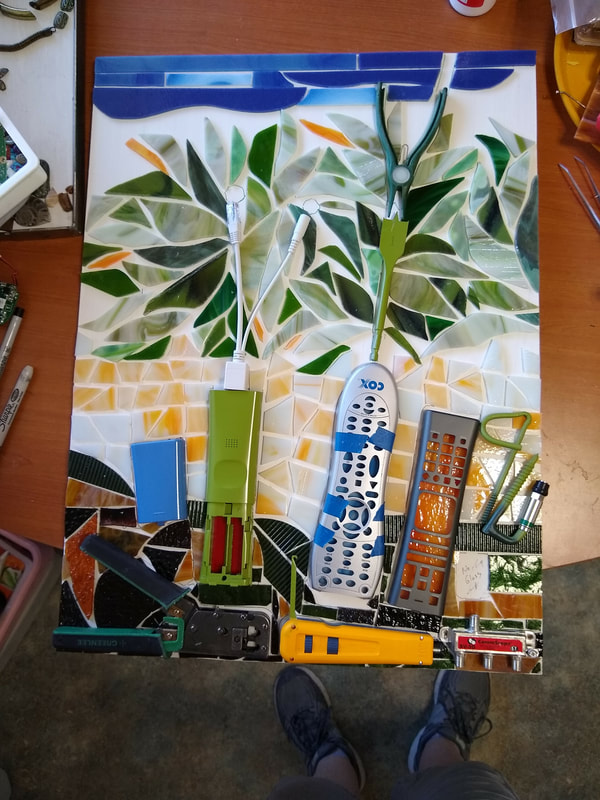
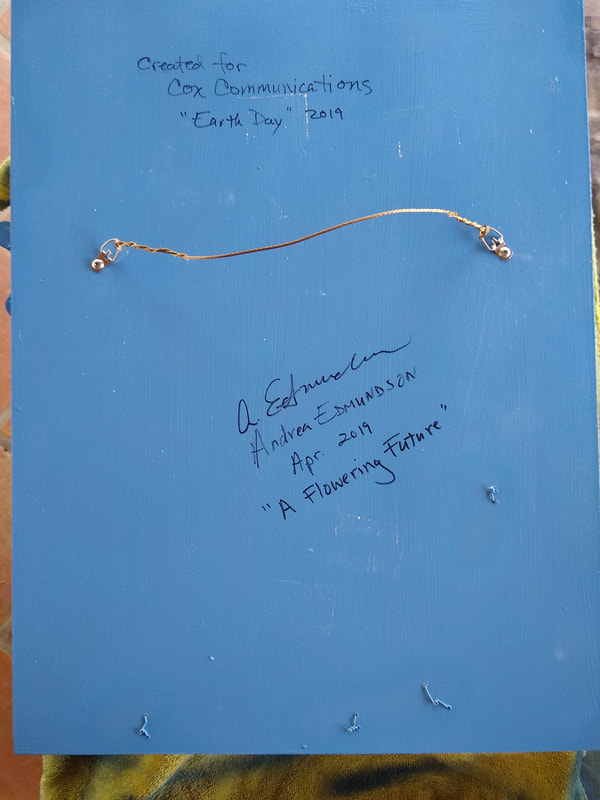
This was a piece commissioned by Cox Communications here in Tucson for Earth Day 2019.
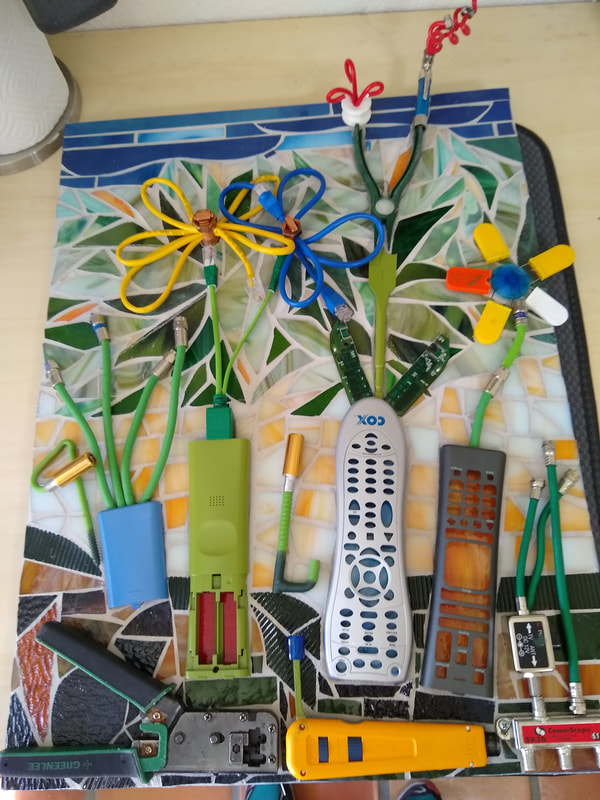
Picture
Box #1 of potential materials!
Picture
Box #2 of potential materials.
Picture
Remote controls I popped open with my vice - fun!
Picture
Laying out my options to stimulate ideas.

Picture
Exploring potential layouts, once I decided on the 'flowers in pots' theme.
Picture
Sketched layout on substrate so I could drill holes for attaching heavy pieces and to determine where I would place mosaic glass around the flower pots (aka remote controls).

Picture
Starting to place mosaic glass around 3D objects.
Picture
Attached stained glass to backs of remotes so you could see color through them.
Picture
Laid the first row of glass - the 'ground' the flower pots are sitting on. Nothing is attached yet, just positioned for review.
Picture
Starting second row of stained glass to create contrast for the flower pots.

Picture
Almost done placing glass for leaves and sky. Again, other items are still not attached, just set in place for spacing. (Blue tape is holding stained glass on back of remote until adhesive dries.)
Picture
Backs of remotes were convex so I painted the substrate the same color as the grout I would be using so all would blend well.
Picture
Had to paint the back BEFORE all work was completed. Imagine trying to flip it over, otherwise! Here you can see the wires I used to help attach the heavier tools (along with adhesives).
Picture
Once the back was completed, I finished the front by adhering all remotes, tools, and things I cannot even name!

Picture
Attached smaller items at the end, like circuit boards and other doohickies (LOL, I'm sure Cox people know what these all are). Used CAT 5 cables for blue and yellow flowers. Painted remotes with spray paint and painted cables with acrylic (the only paint that will stick to rubber).
Picture
Almost done...had to use an epoxy adhesive to attach metal edges. Unfortunately, modern technology sometimes requires toxic materials.

The Final Product

Picture
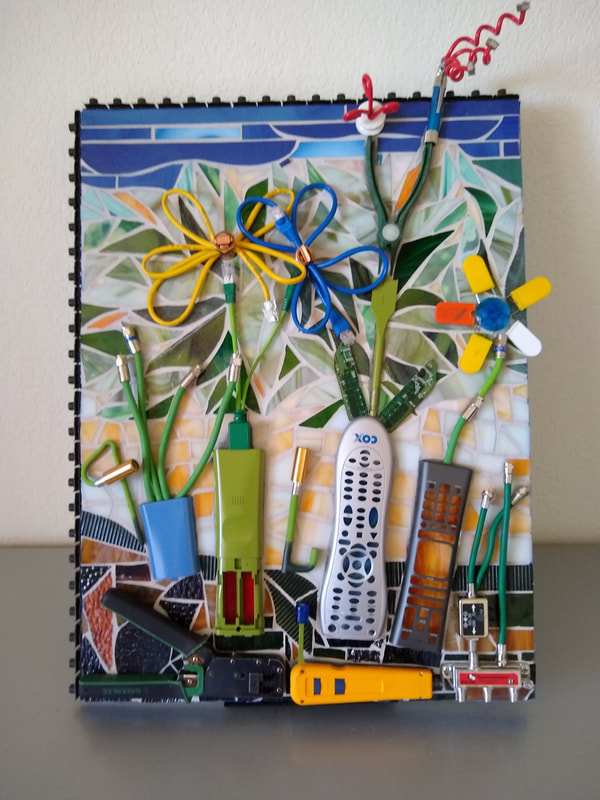
Happy Earth Day! This project made me smile. Remember, we are constantly getting better at reusing materials, reducing waste, and repurposing or upcycling materials...A "Flowering Future" in my opinion.
2 Comments

Some Experimenting

4/12/2019

1 Comment

 
Picture
I had a pattern in mind and laid out the tentative locations of key bling.
Picture
I then marked where the chains and other boundaries were going to be placed.
Picture
I used a cake decorating icing bag - it takes a lot of oomph but I like the lines it made.
Picture
Here's a close-up of the 'iced' lines.
Picture
I iced all lines then filled in the boxes one by one.
Picture
This was the second-to-last box and I liked the gray color of Wedi board for background so I decided to use light gray thin set.
Picture
In my very last box, I made thin-set flowers with the icing bag. I see more experimentation in my future!
Picture
The 'almost' final product. I built this in the frame so I have some touch-ups and cleaning to do, but the hard stuff is done.
1 Comment

Mid-Century Mod Hippy Bird House

2/26/2019

0 Comments

 
Picture
The mosaic bird house is mounted outdoors. Thanks to my hubby Victor for the perfect post mount.
Picture
A view of the post mount from the bottom. Cool, eh?
Picture
Finished, front view.
Picture
Finished, back view.
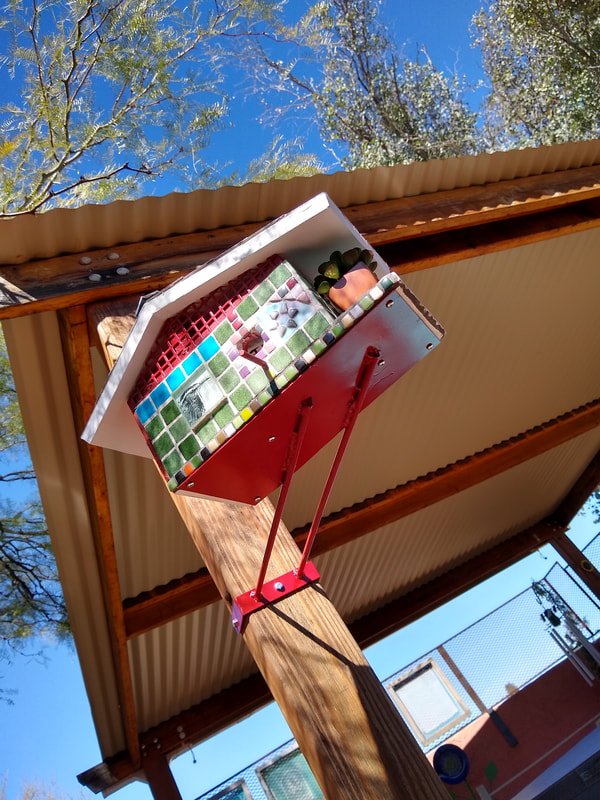
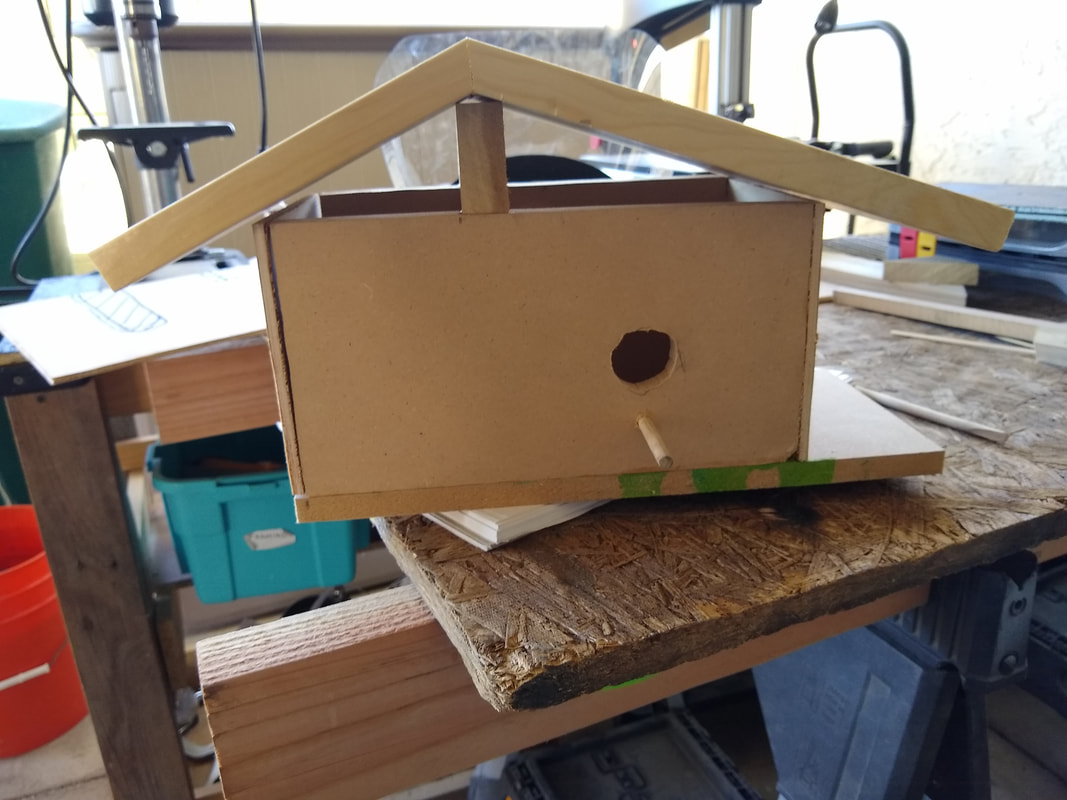
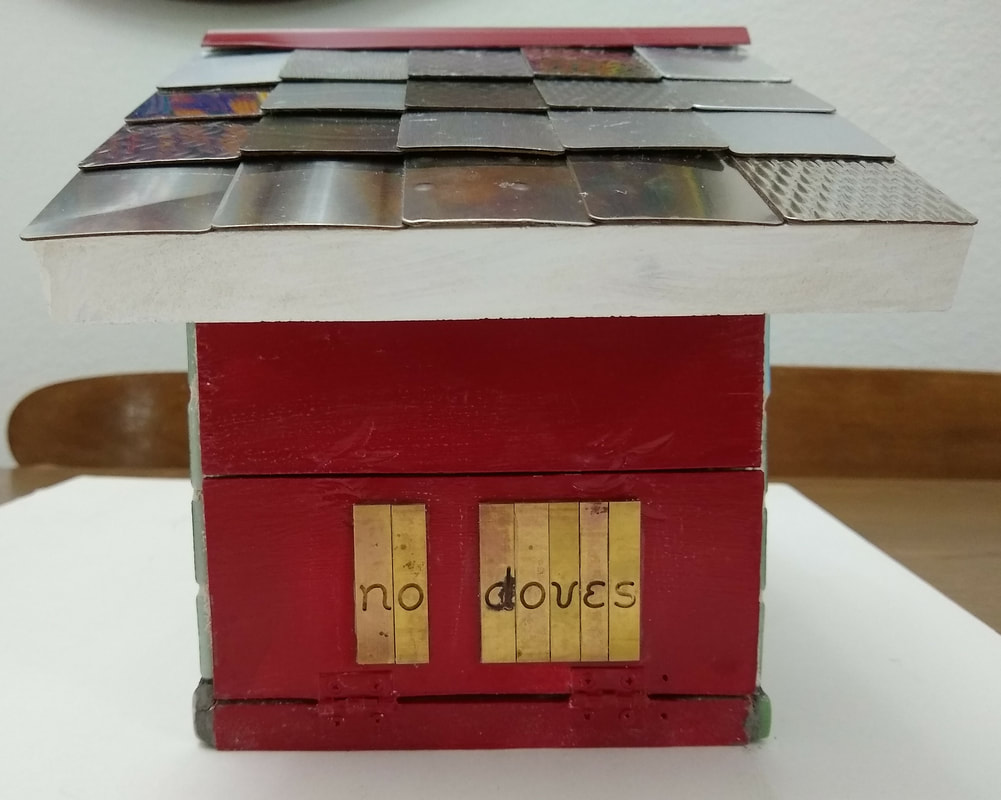
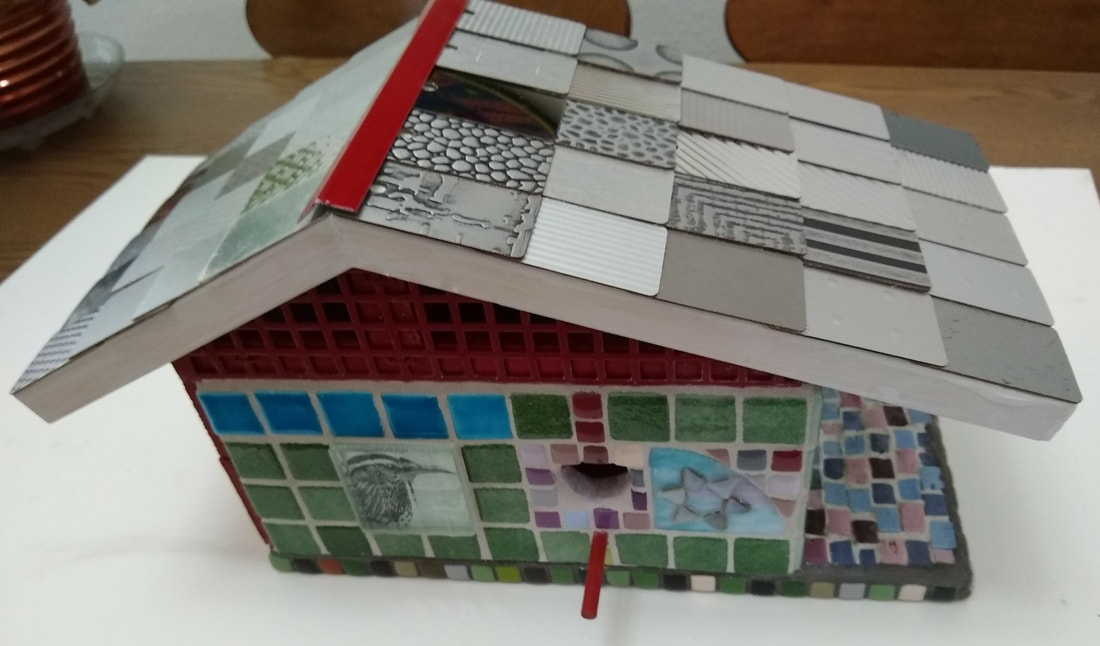
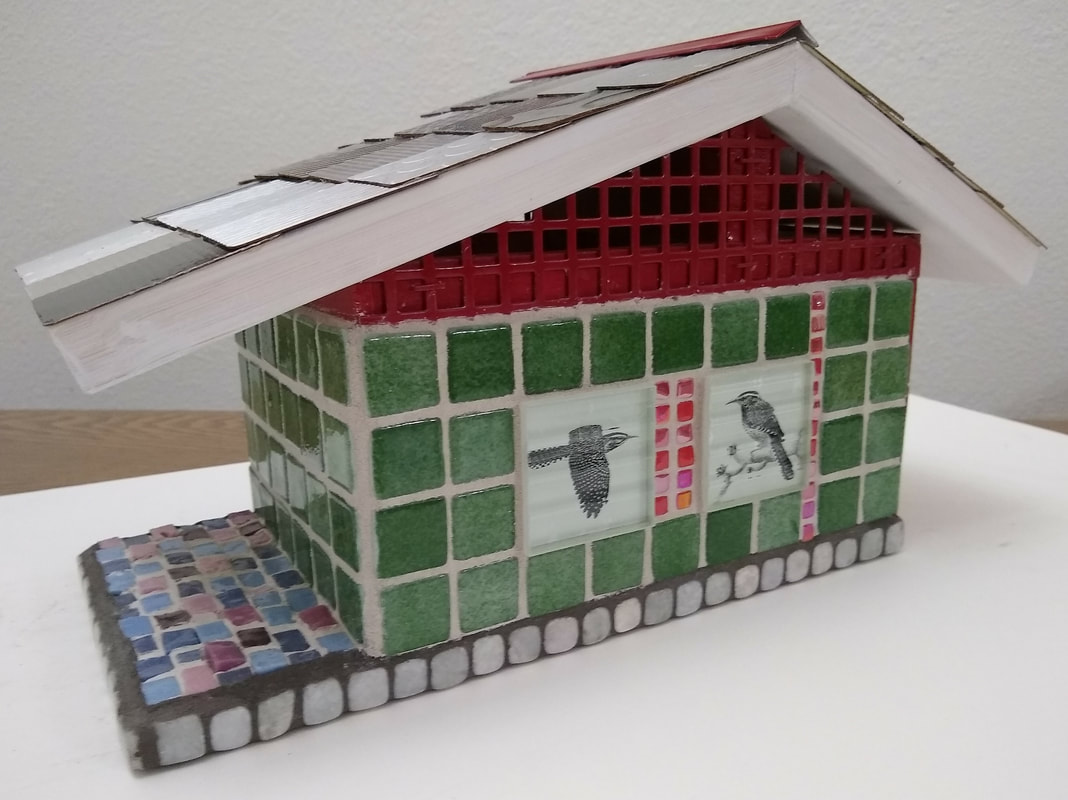
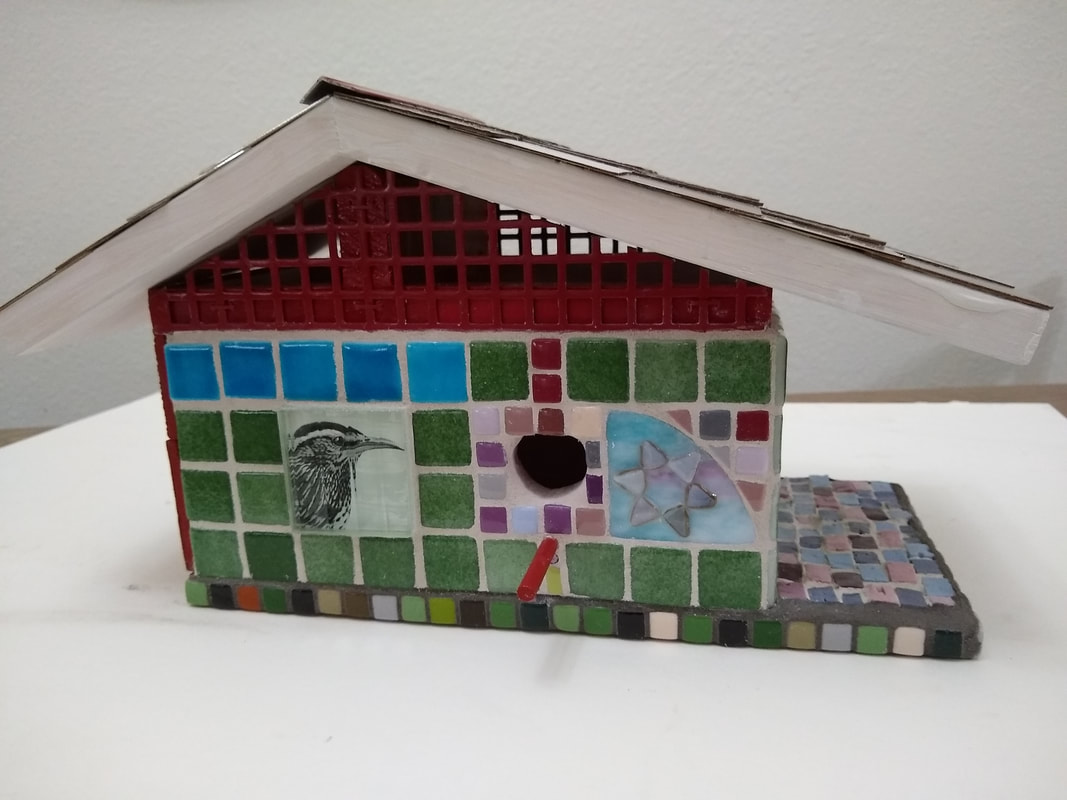
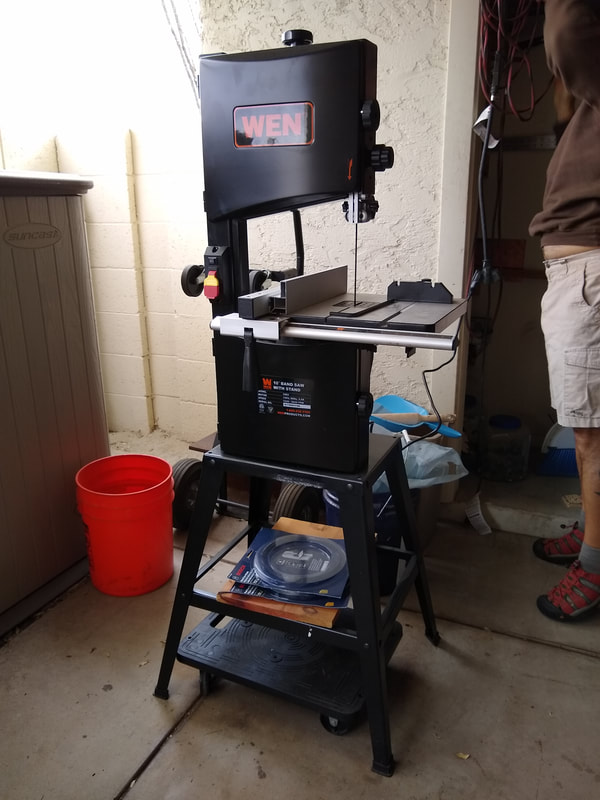
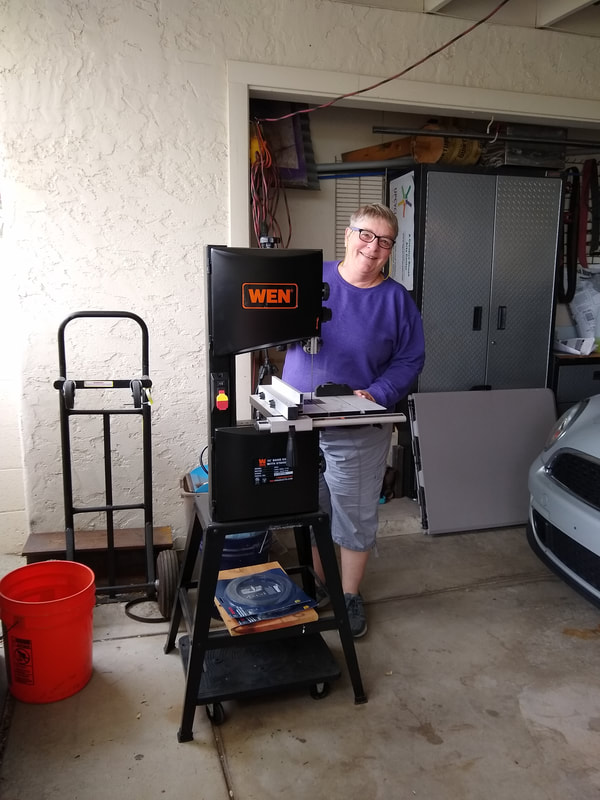
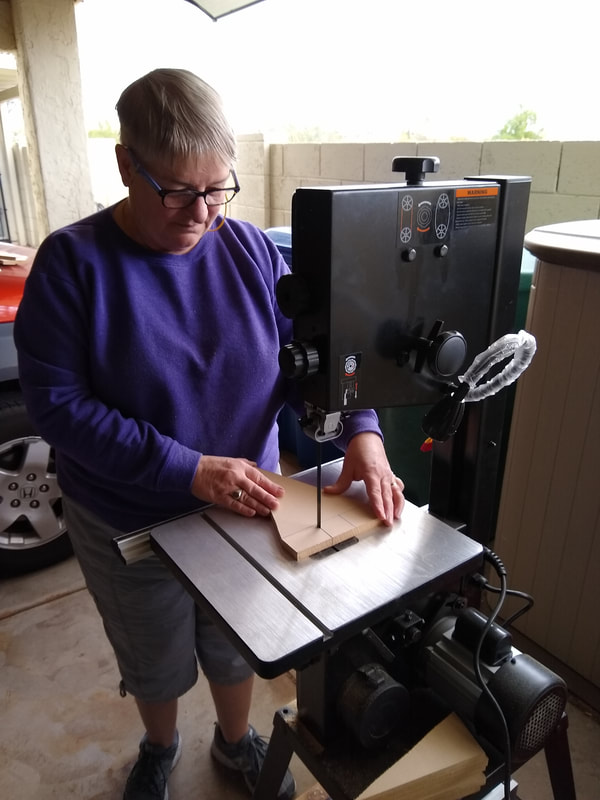
Unless I sell the bird house, I'll be mounting it in my back yard on a metal perch off the patio.

Construction!

I wanted to build something useful while I was learning to use all my tools. The project let me use all the features of my new band saw (stART grant). However, I also used a jig saw, the versacut saw, and my drill, plus wood glue, nails, screws, and hinges. Thanks, Pam, for helping me learn to use all the tools (safely)!
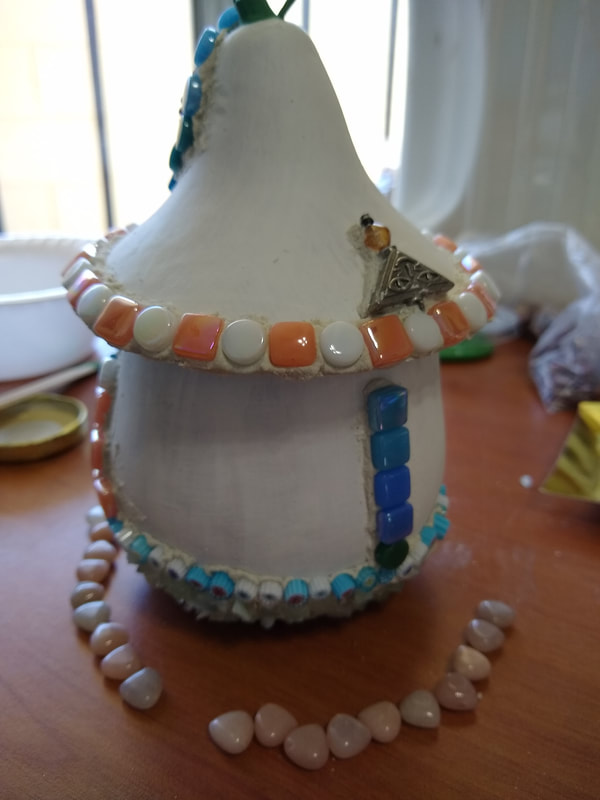
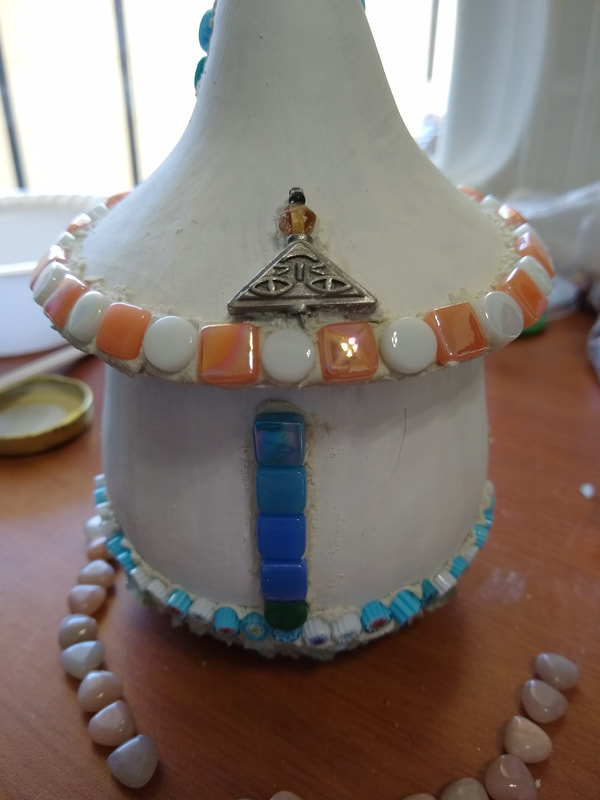
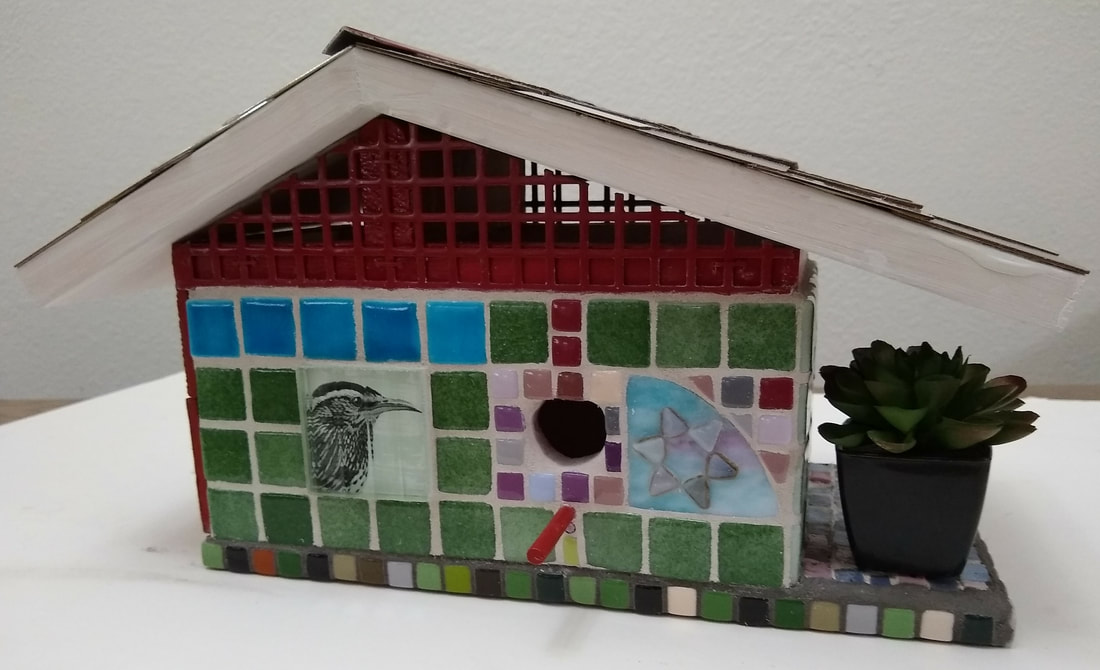
Picture
Used many tools to create the bird house, especially my new Wen band saw.
Picture
Painted wood with primer, added red metal grid.
Picture
The mosaic tiles were placed but not adhered.
Picture
Glued (with thin set) mosaic tiles on front first.

The Final Touches

As usual, I used plenty of re-purposed materials to complete the project. My friend NJ gave me the brass letters; the roof 'tiles' were metal samples used by a sales rep.
Picture
I sealed the grout.
Picture
Grout sealer with a brush tip!
Picture
This is a hinged back door so I can clean the house.
Picture
I used metal samples with caulking to create the tiled roof.
Picture
I printed the bird images but covered them with textured plexiglass samples.
Picture
All of the tiles in this project were leftovers from another artist, including the smalti glass I used for the patio and the fused glass star next to the bird house door.
0 Comments

Holiday Tree Mosaic

12/3/2018

4 Comments

 
Picture
Final holiday tree with all bling added!
Picture
Plain MDF substrate, cut with my new band saw!
Picture
Substrate primed on both sides and edges with KILZ.
Picture
Had lots of green glass shards and pearls so those work perfectly for a tree.
Picture
Just laid out all the broken pieces so I could build the mosaic like a jigsaw puzzle.
Picture
Sorted the pearls to find the best quality (painted ones get ruined and also absorb grout).
Picture
Started by laying out the garland.
Picture
Marked the garland locations with a pen and then glued them onto the substrate.
Picture
Started placing the glass tesserae.
Picture
Once I had most pieces in place, I started gluing.
Picture
I added beads and millefiori in some grout spaces, too.
Picture
Protected the bling in the grout lines with masking tape.
Picture
Decided to use the last of dark green grout instead of coloring it myself with acrylic paint.
Picture
Final grouted version without additional surface bling.
Picture
Final holiday tree. I love the drama the dark green grout added to the piece.
4 Comments

stART Grant Recipient

12/2/2018

0 Comments

 
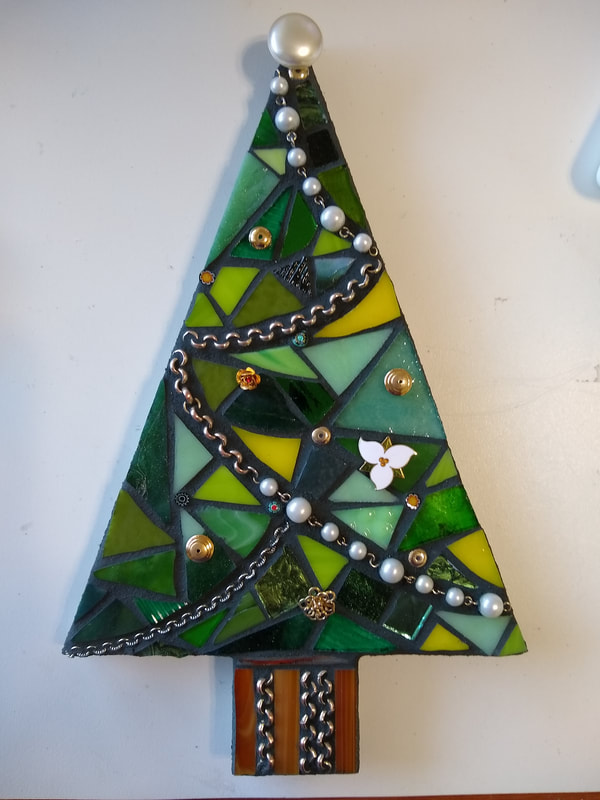
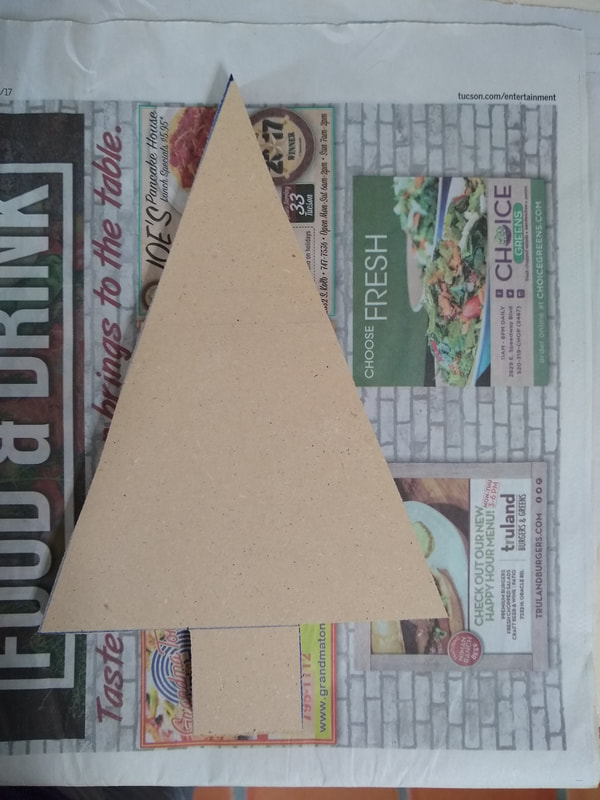
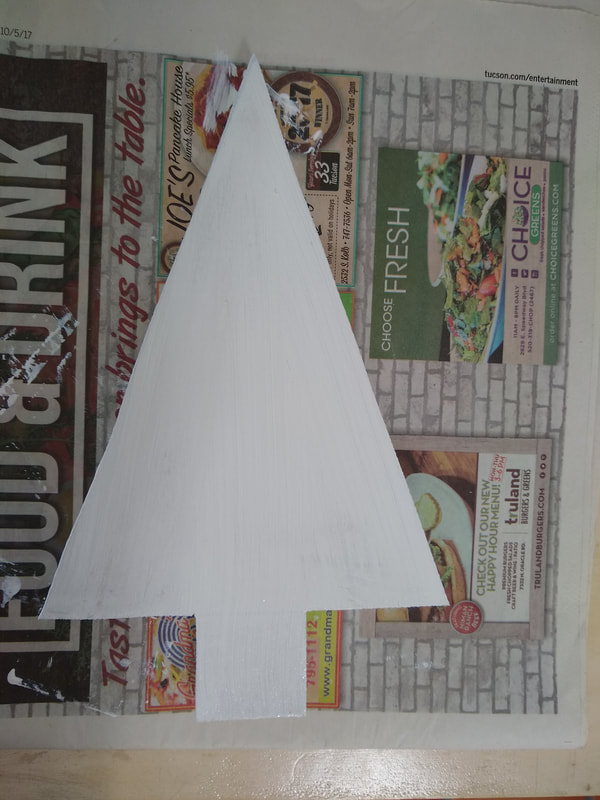
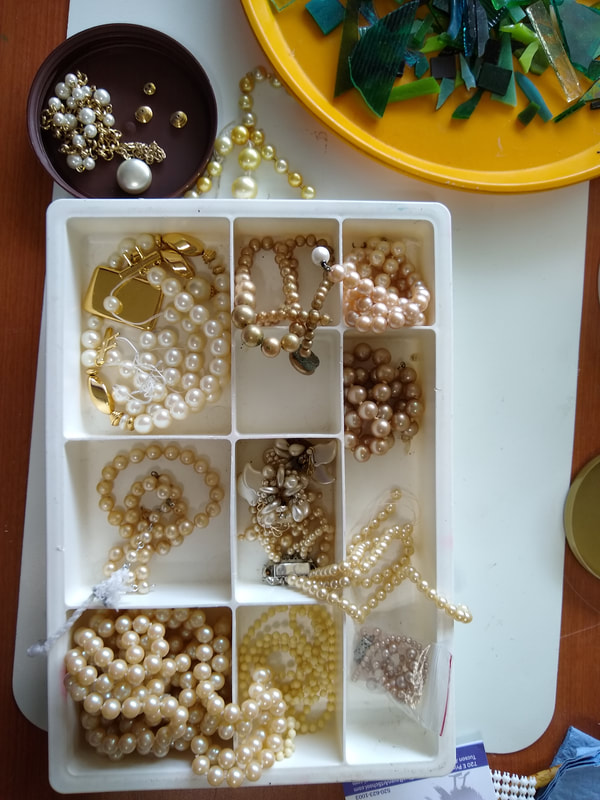
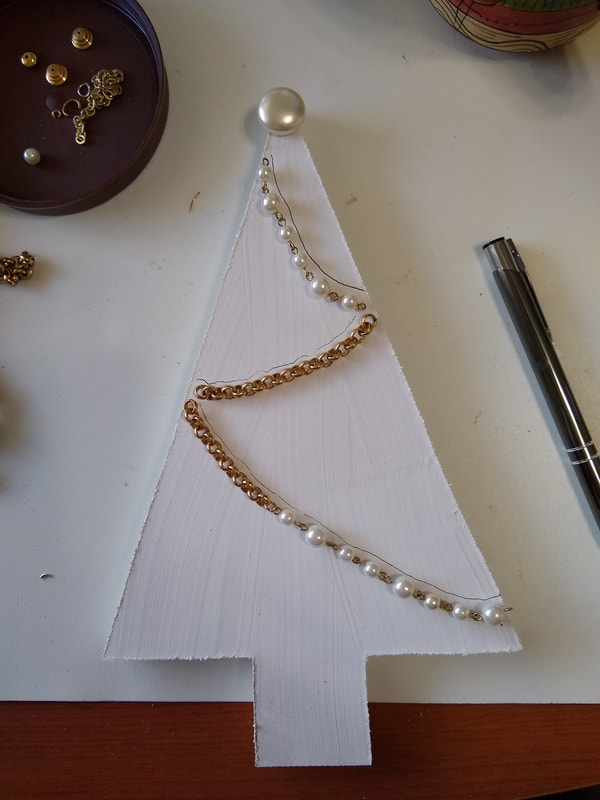
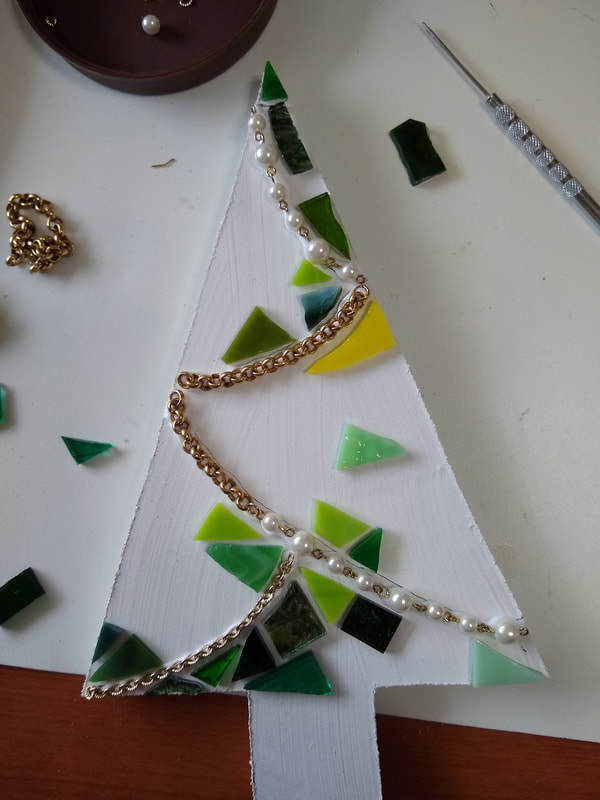
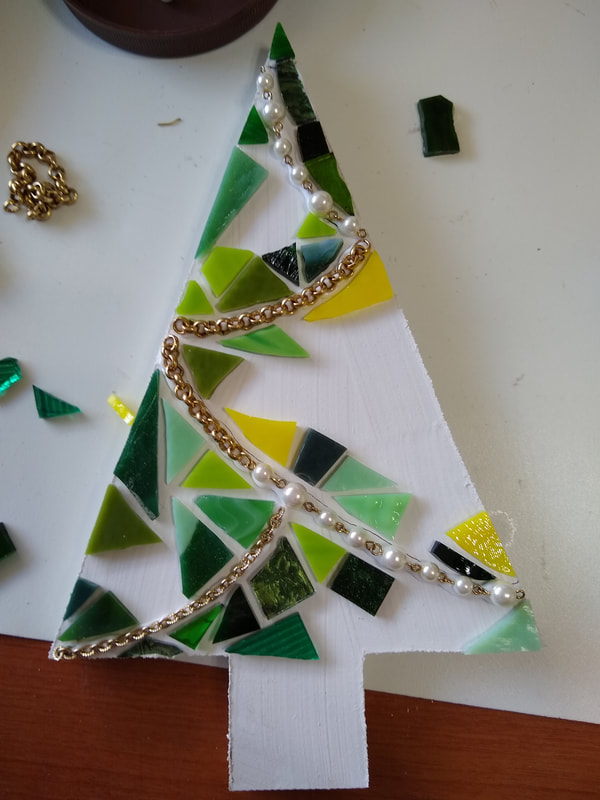
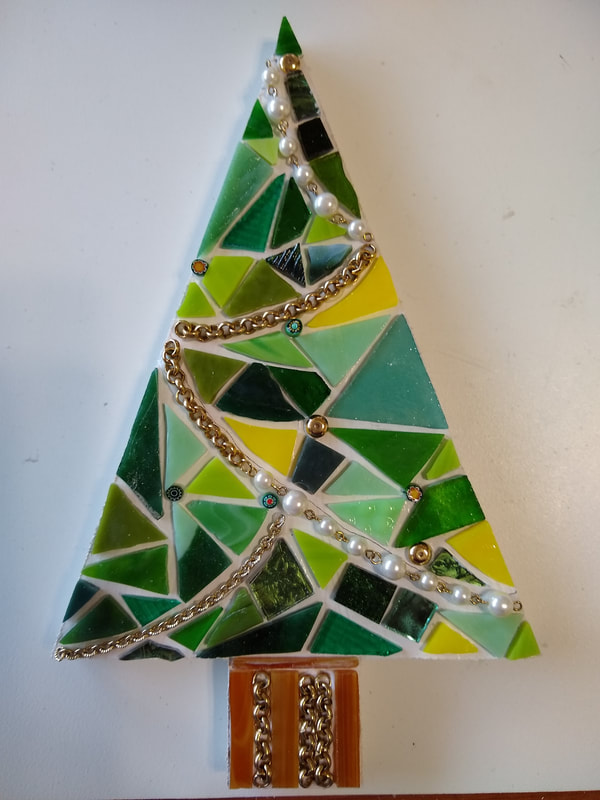
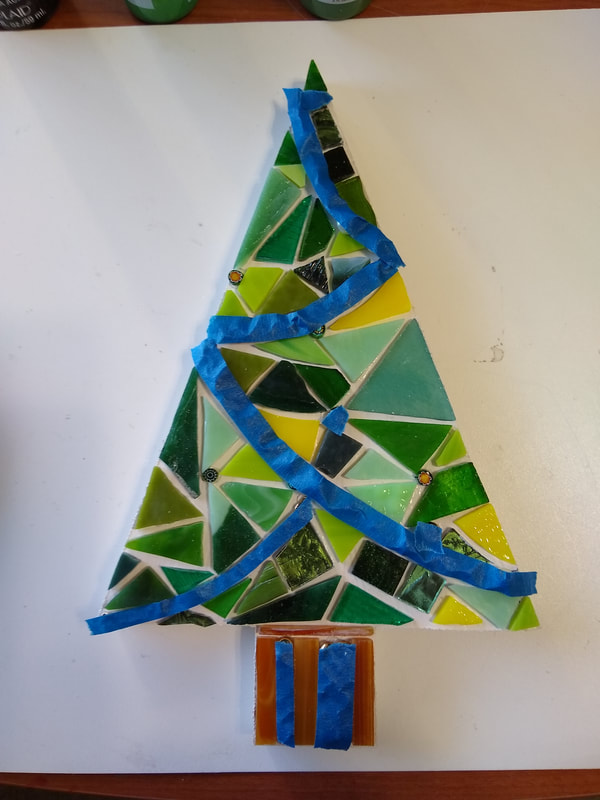
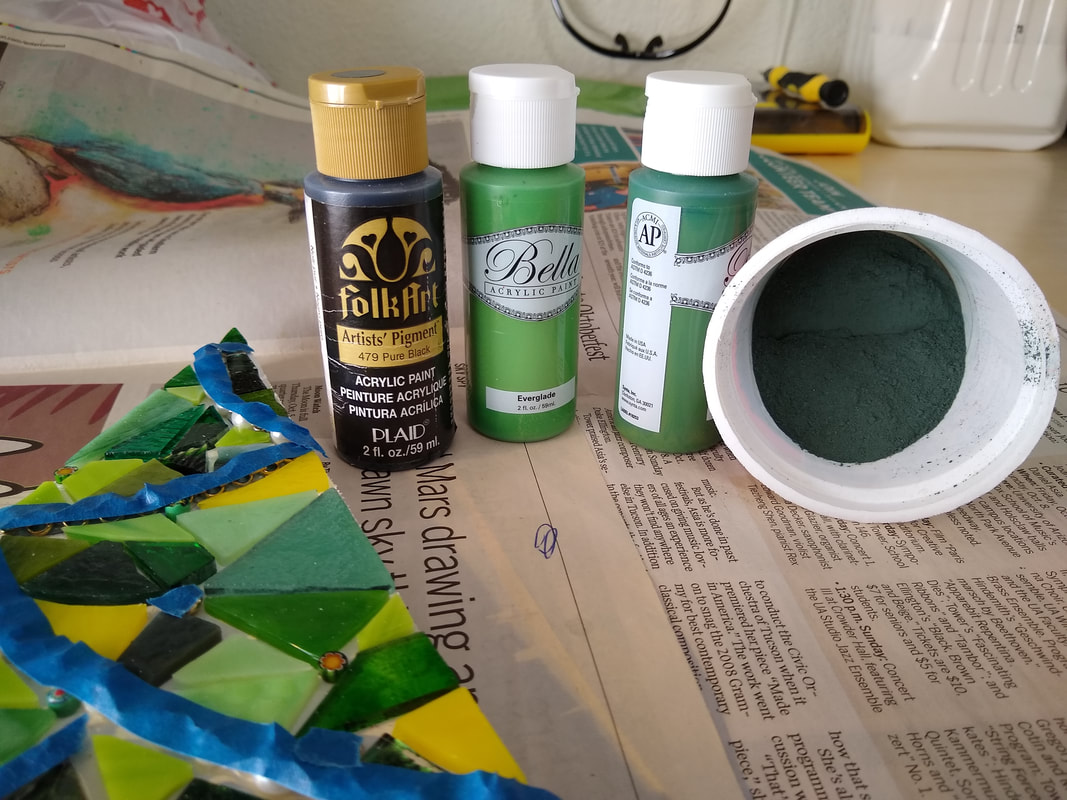
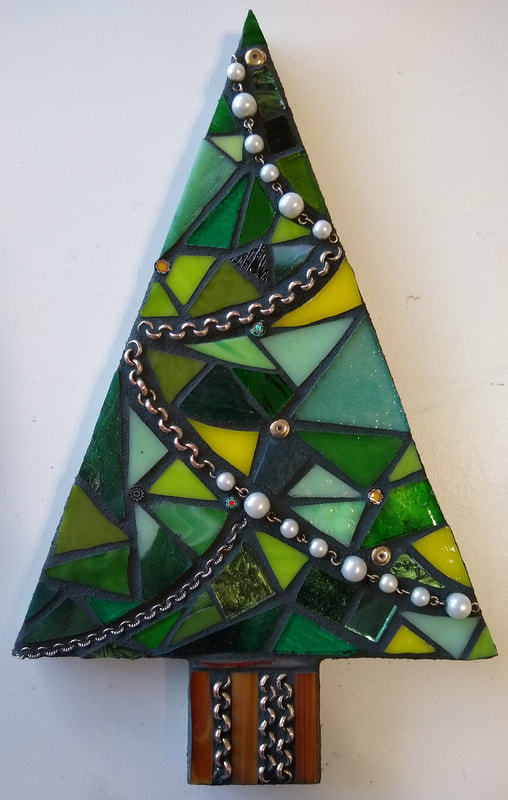
I recently received a stART Grant from the Arts Foundation for Tucson and Southern Arizona, funded by the City of Tucson and Pima County. Part of my grant was applied towards a band saw.  I started learning how to use it today, making holiday tree substrates for my December mosaics class, "Using Found and Personal Items."
Picture
The new band saw.
Picture
Me, learning the basics.
Picture
First cuts - nice and simple.
Picture
Basic holiday tree substrate for my class, Mosaics 1 - Using Found and Personal Items.
0 Comments

Birth of a Tapestry Mosaic

7/16/2018

0 Comments

 
Picture
Laying out the bling. Always take a picture on your cell phone before starting. You can change your mind, but at least you have the main layout!
Picture
Starting with colored thin set. I used powdered colorant and I had to wait for moisture to really get into the thin set.

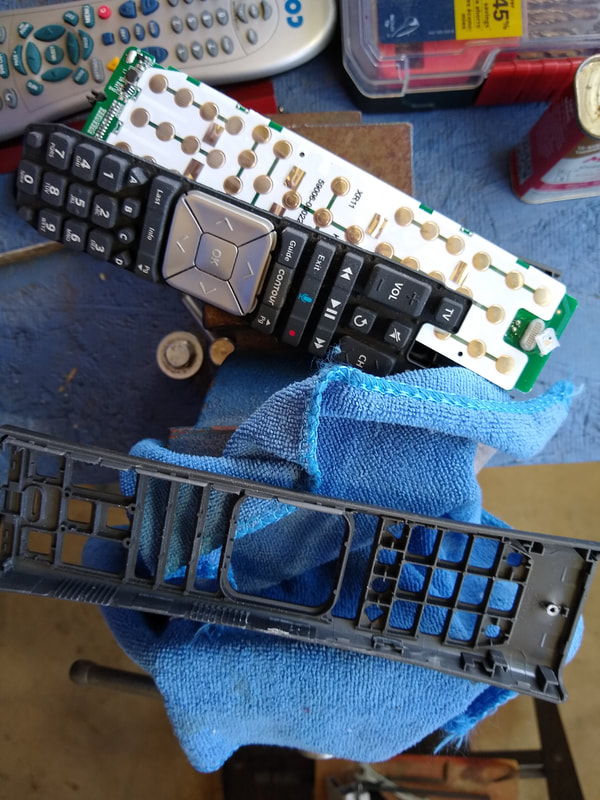
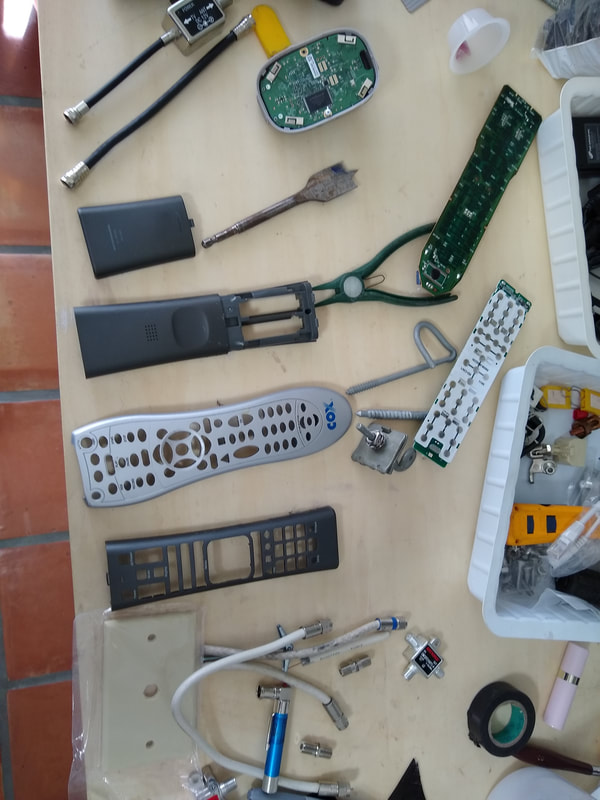
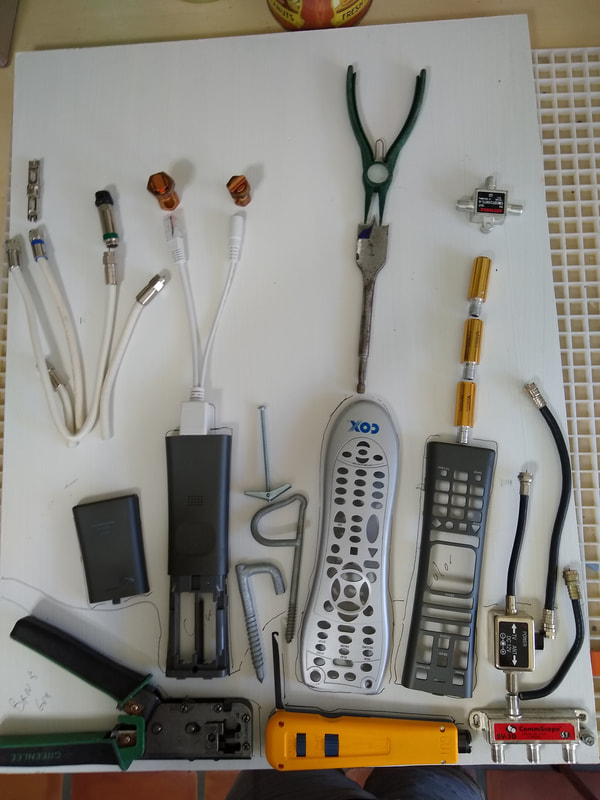
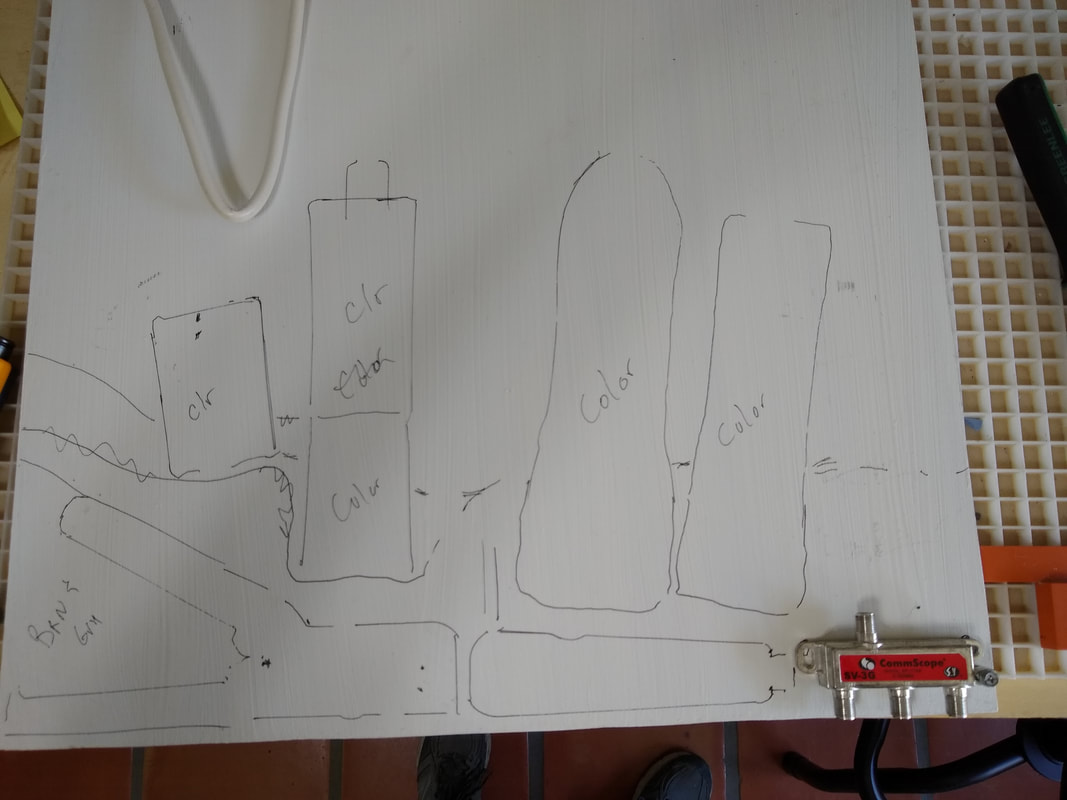
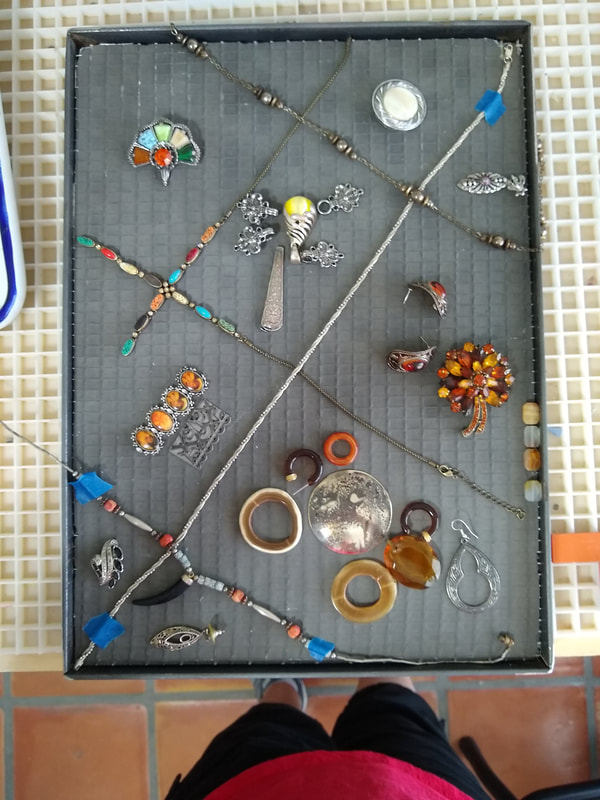
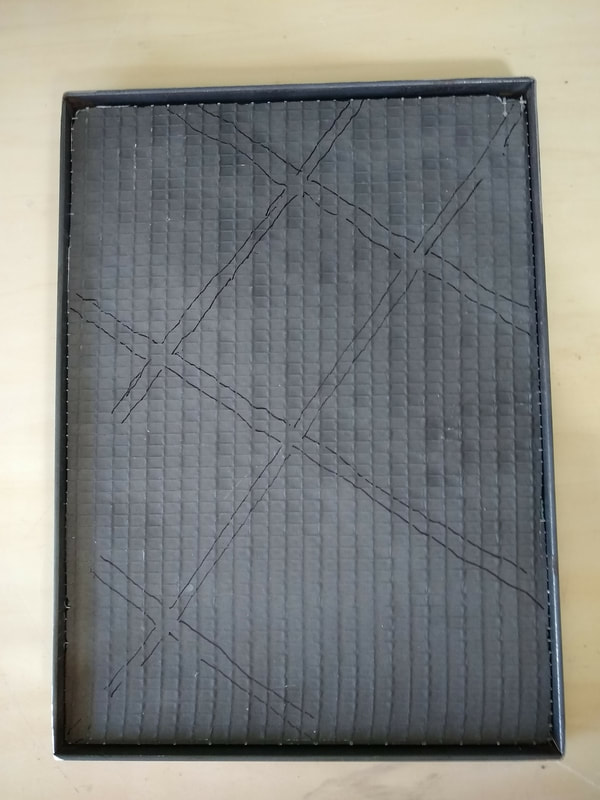
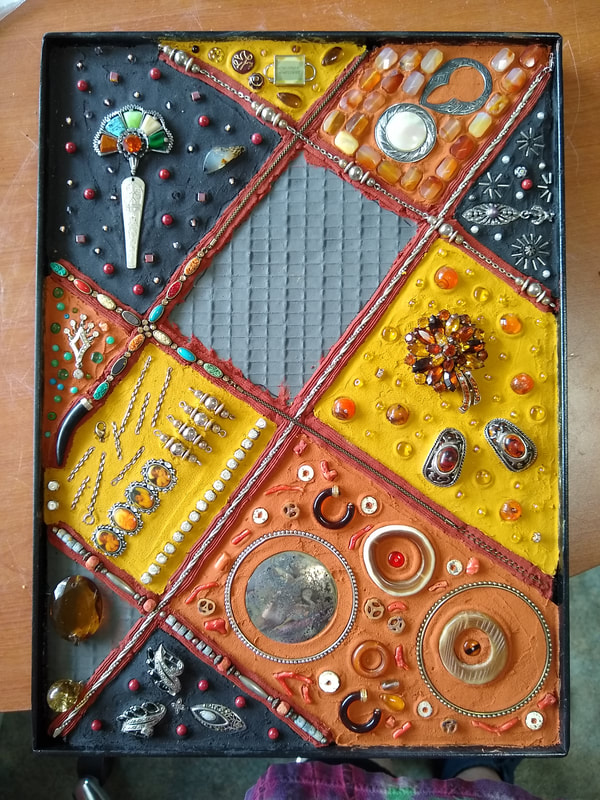
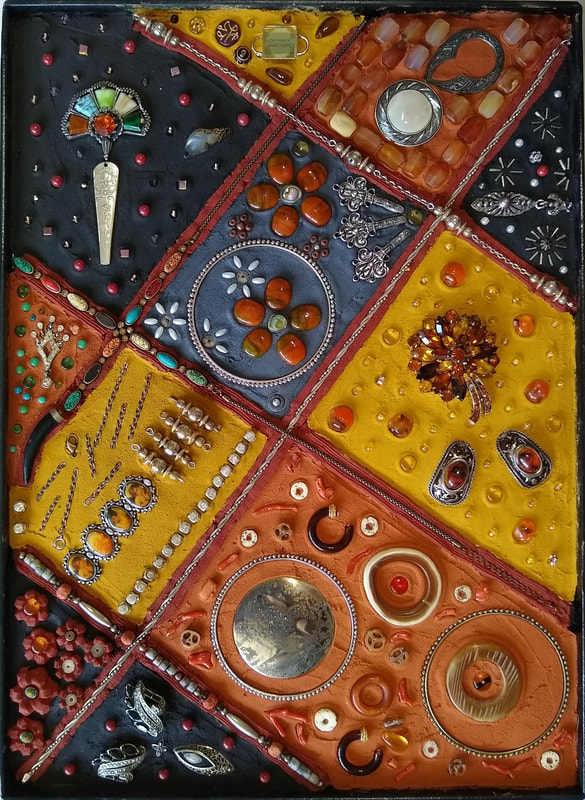
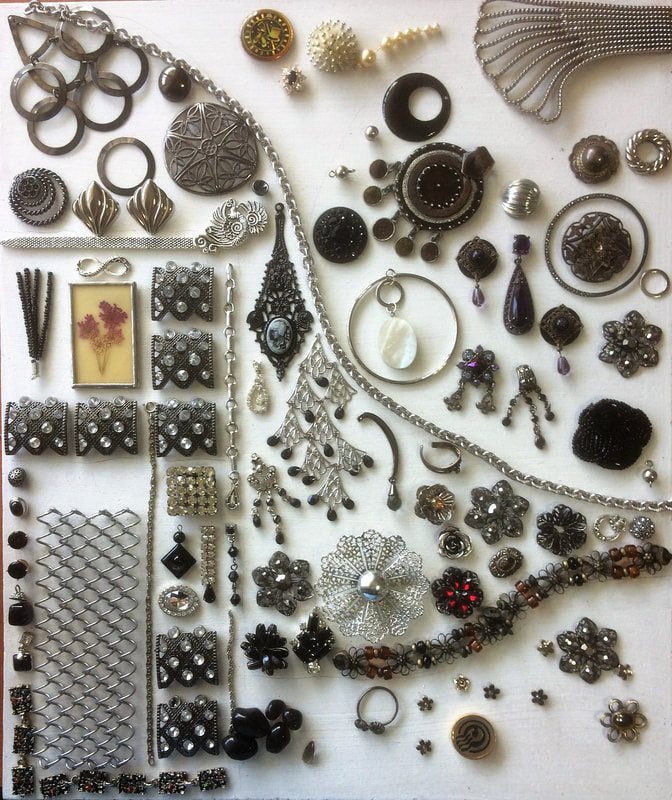
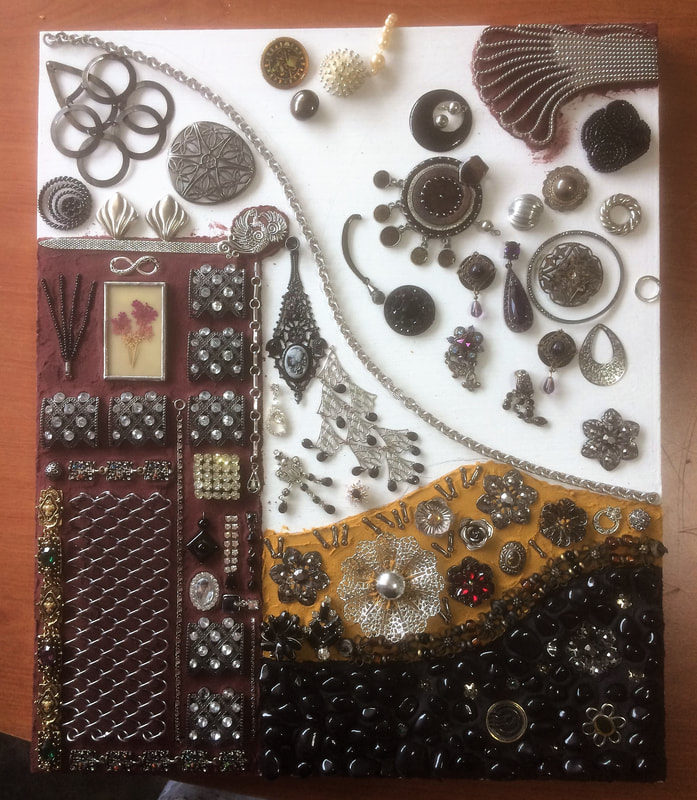
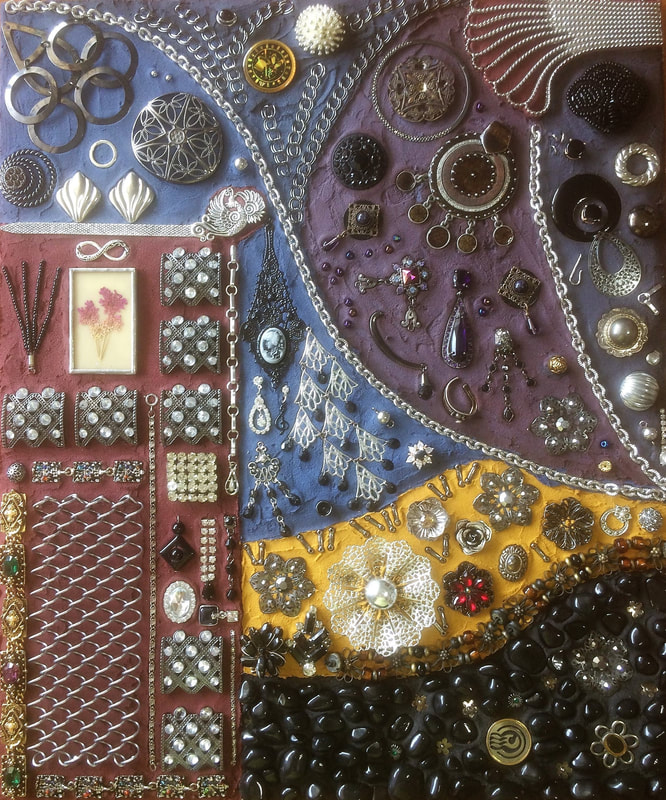
What, you ask, was my inspiration for this one? First, I had a lot of silver and dark bronze or black bling. I had a lot of flower-like pieces, as well as tear drop shapes. The challenge was that I had square and oblong tesserae (very non-organic looking) and just as much round (more organic) bling.

So, I decided I needed to have sky, rain, clouds, and then flowers and a garden. But what about all of that rectangular bling? Ah, a building! Then I remembered from MANY years ago my visit to Central Park in New York. What was next to the park? Awesome art-deco style buildings! Thus was born, "Spring Rain, West Central Park"...a bit cool and a bit warm, all at the same time.

Picture
Moving from bottom and left: I'm right-handed so I stayed out of my own way!
Picture
Final work but color in the thin set will darken with time.
0 Comments

Team-Building with AAM

3/2/2018

0 Comments

 
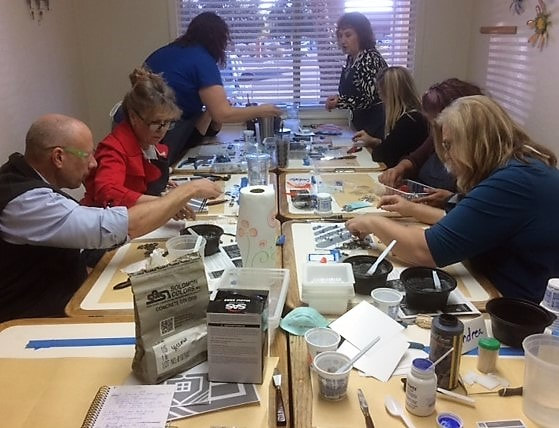
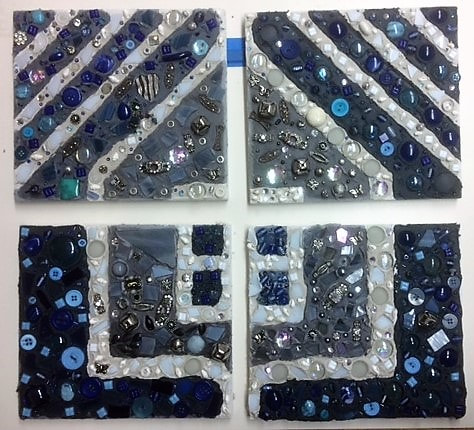
The Associated Asset Management team recreated their logo as a tapestry mosaic. This was part art class and part team-building activity. Remember, I am a former corporate trainer and instructional designer. I do these types of events, customized, for any local group or business.
Picture
Original logo
Picture
The team working diligently.
Picture
Each sub-team created a quadrant.
Picture
The final product.
Picture
This team really worked!
"The tapestry mosaic class-turned-team-building-event Andrea put together for my office was absolutely fantastic! I shared with her some of the challenges and personality dynamics impacting our work life. And after brain-storming about the type of mosaic project I hoped we could create, Andrea melded her corporate trainer background with her talents as an artist and provided us with an experience that more than exceeded everyone's expectations. My team had a blast and the mosaic is gorgeous!" 
Karen Snider Matthews, AAM/Tucson

Picture
This is the logo framed for their office. So unique.
0 Comments
Forward>>

    Author

    I create mosaics by using reclaimed, recycled, and re-purposed materials.

    Archives

    August 2022
    July 2022
    August 2021
    July 2021
    June 2021
    May 2021
    October 2020
    June 2020
    May 2020
    January 2020
    November 2019
    July 2019
    May 2019
    April 2019
    February 2019
    December 2018
    July 2018
    March 2018

    Categories

    All
    How To
    How-To
    News
    Special Events

    RSS Feed

Contact Me

  • Home
  • Portfolio
  • Resources
  • Blog
  • Contact